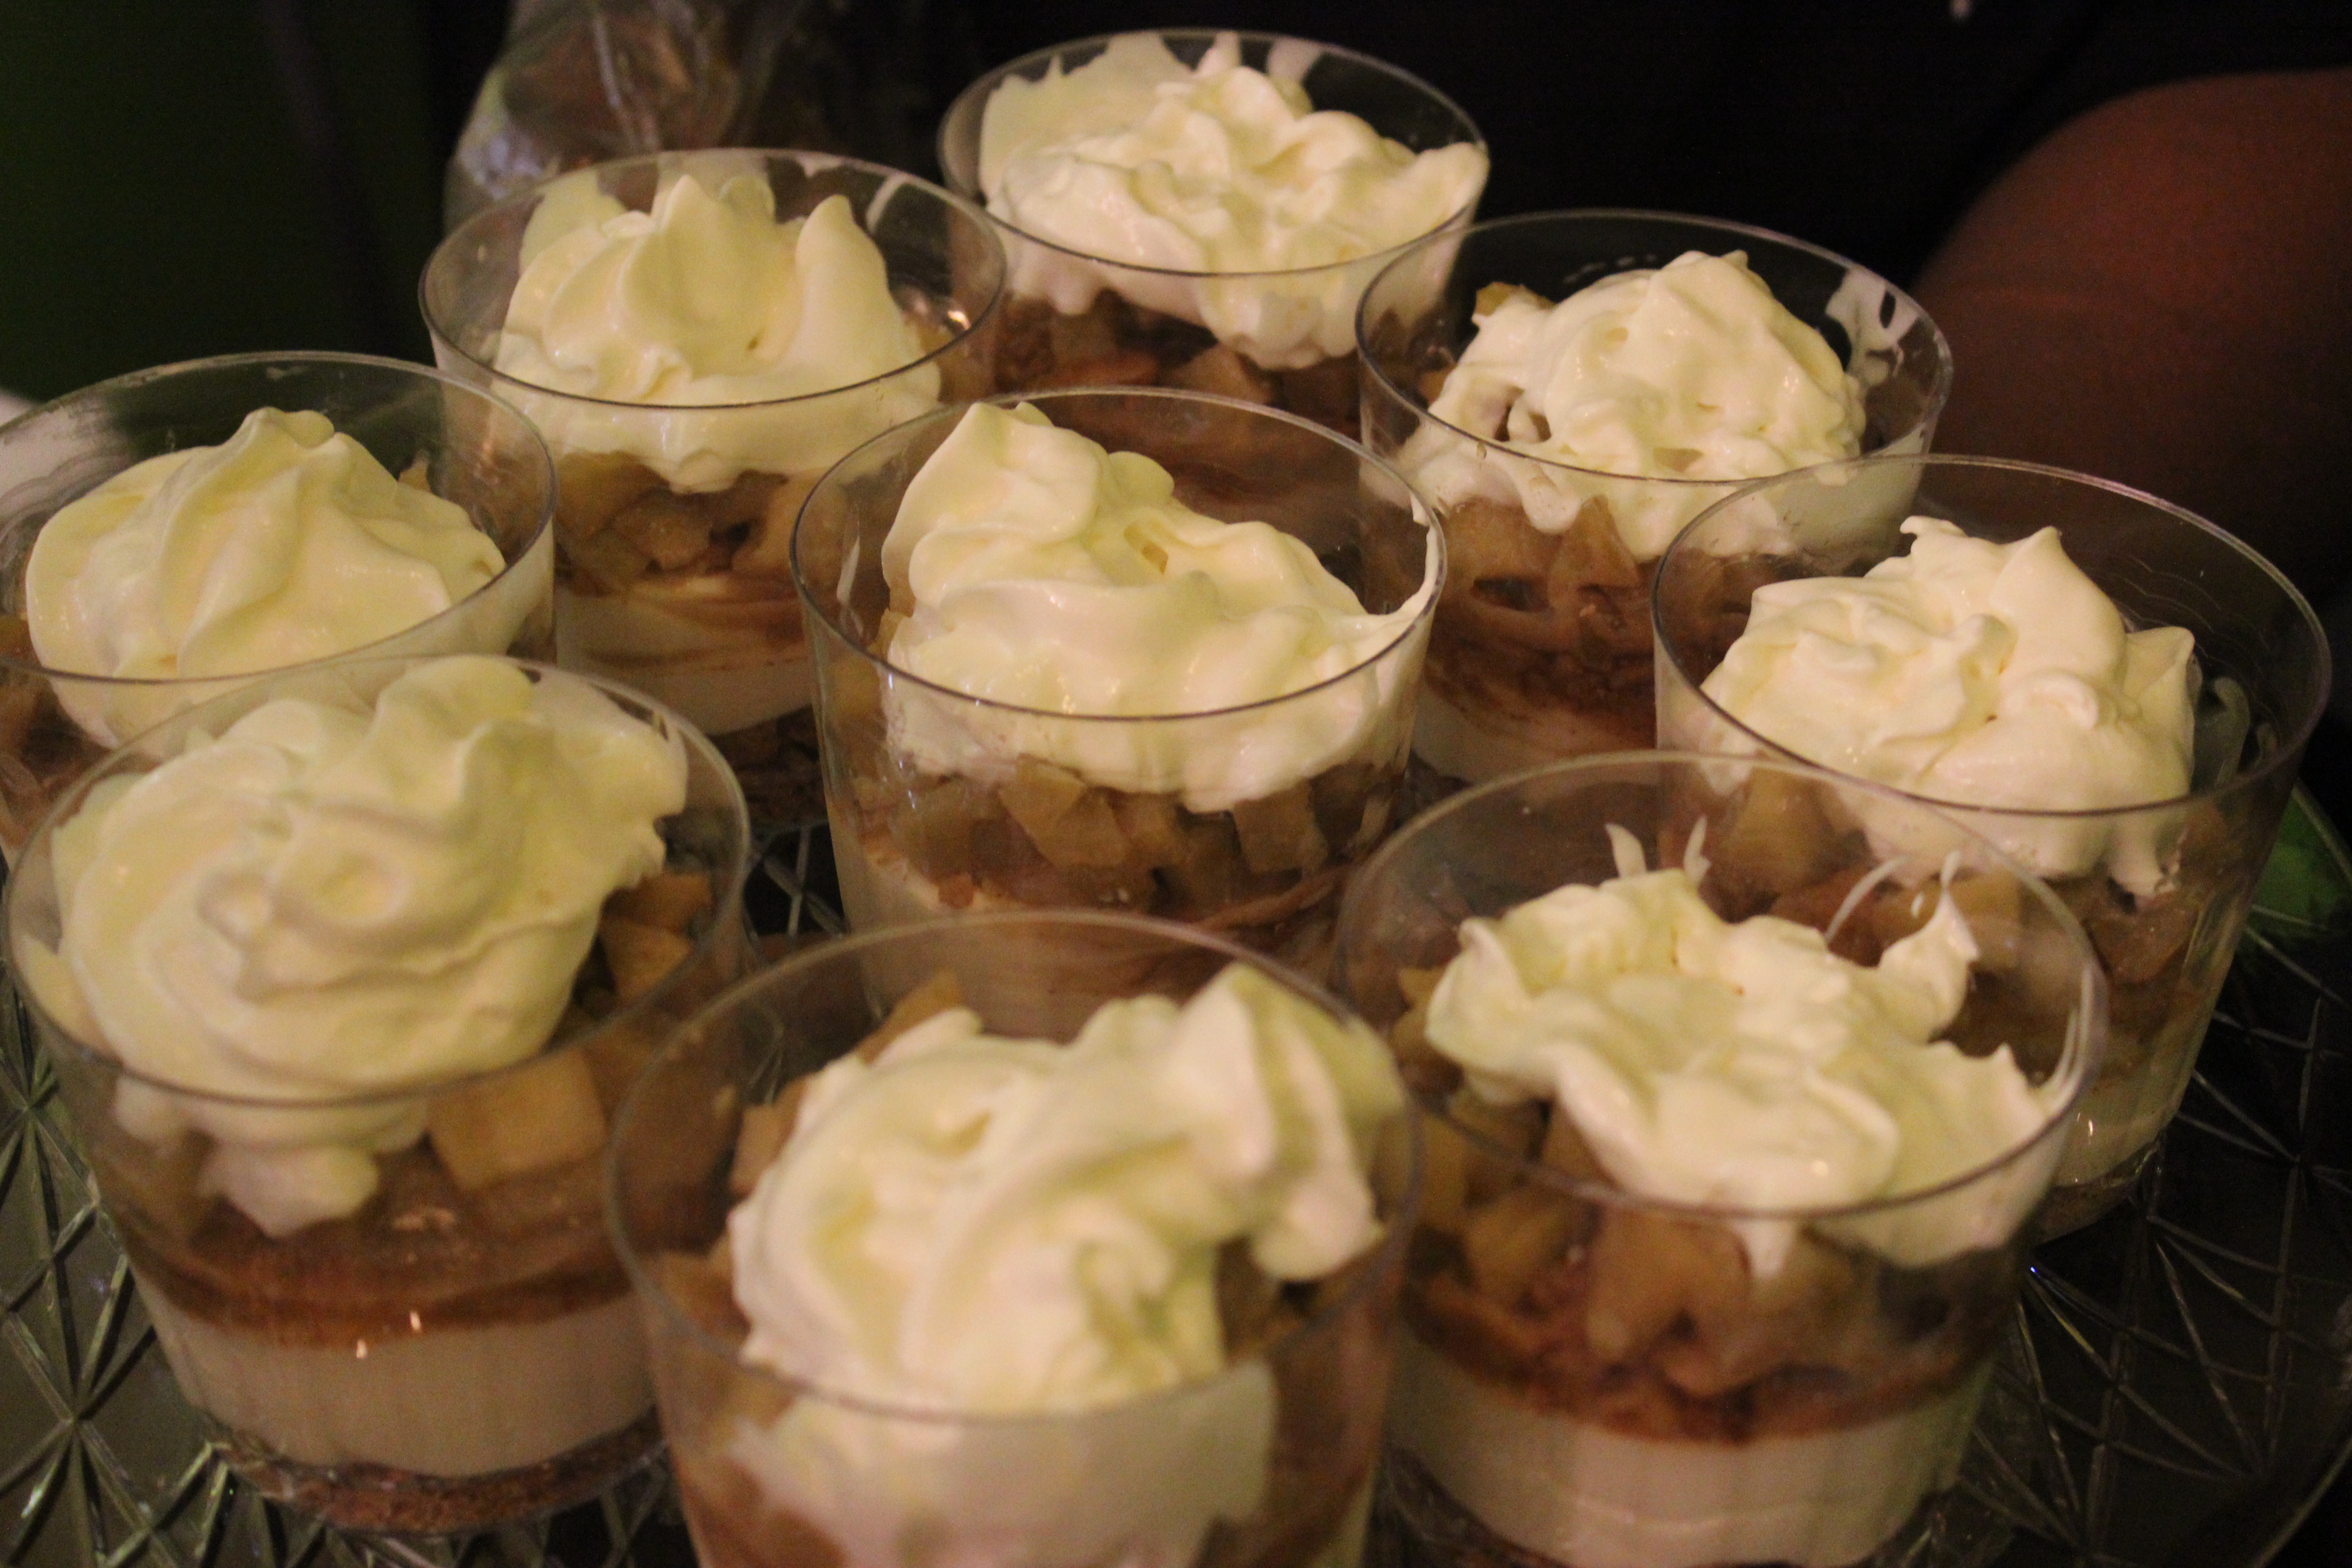
It can’t get any simpler than this. Diced apples, sugar, butter and cream with a layer of sweetened cream cheese and one of graham cracker crumbs. Dessert that you don’t have to turn on the oven for and ready in under 30 minutes. I think that’s a win-win situation.
No Bake Caramel Apple Cheesecake
Crust
2 large squares of graham crackers
¼ teaspoon cinnamon
1 Tablespoon sugar
1 tablespoon butter, melted
Cheesecake Apple Filling
4 ounces cream cheese, softened1 small granny smith apple peeled and diced
¼ cup sugar2 Tablespoons dark brown sugar
½ teaspoon vanilla 1 Tablespoon butter, unsalted
¼ teaspoon cinnamon
⅛ teaspoon fresh nutmeg
1-2 Tablespoons heavy cream or half & half Place graham crackers in a ziplock bag and crush with a rolling pin. Mix crumbs with cinnamon, sugar and butter. Spoon into bottom of serving dish. Mix softened cream cheese with sugar and vanilla until smooth. Spoon on top of graham cracker mixture. heat butter in a pan add apples, brown sugar, cinnamon and nutmeg. Cook for about 5 minutes or until apples are softened. Add cream and cook additional 3 minutes. Remove from stove and allow to cool. Once cool put on top of cream cheese mixture and refrigerate. Serve with fresh whipped cream
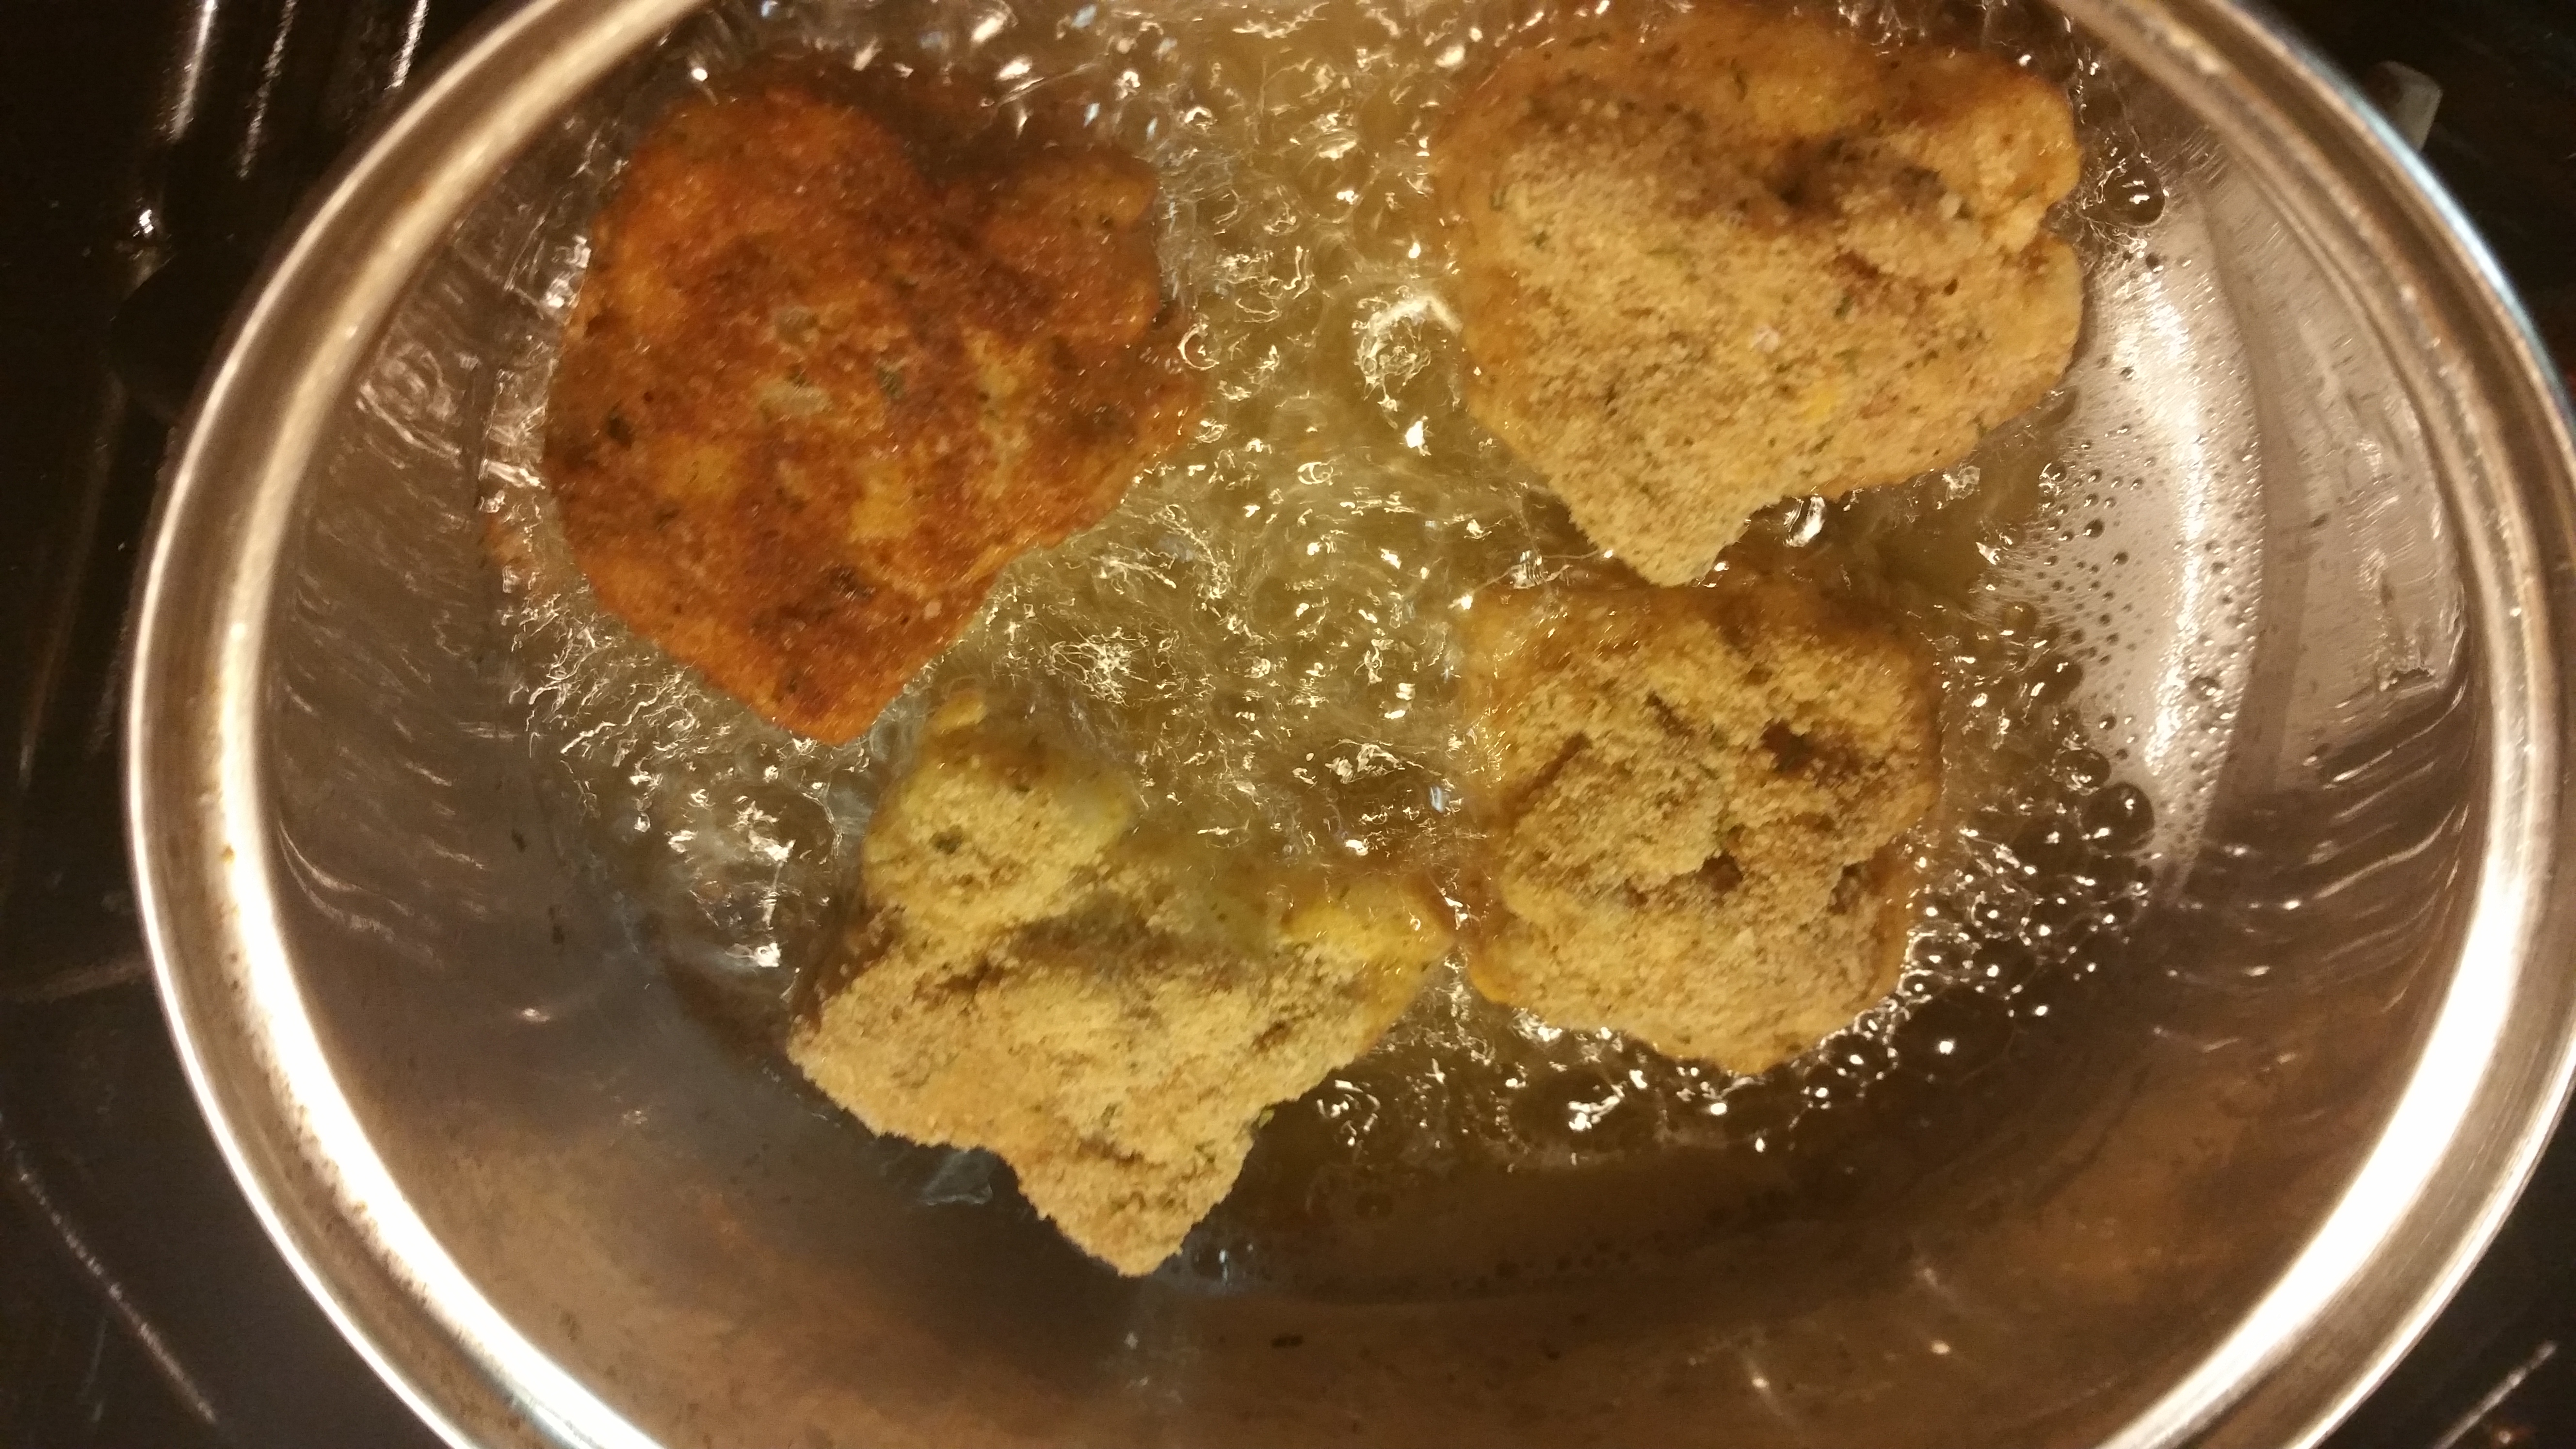
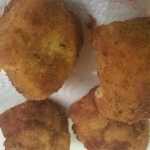
I had left over macaroni and cheese. Can you believe that? Actually my son left for school before I could finish making it. It was made with the intentions of him taking some back to school with him. So what do you do when you have leftover mac and cheese. You make fried mac and cheese..duh.
I saw it on a couple of menus in town. So I figured I could track it down on Pinterest to be able to re-create. Then BAM! a slew of links to just how it was done. They were all pretty much the same with a few differences between the recipes. All the recipes required you to scoop and shape into balls that you would then freeze (preferably overnight). The differences were in their breading methods used to get the crispy outside that would protect the yummy cheesy insides. Most said you should use an egg wash and then roll the balls in breads crumbs which you would then place in the fridge to set before frying. I think I had only come across one that had what I was trained to be the standard in breading. Flour, followed by an egg wash then bread crumbs. No need to put in the fridge this way. The crumbs will adhere and not fall off before frying.
As with anything I cook I have to find a way to make it my own. First I thought it was easier for me to cut them into squares as opposed to shaping the mac and cheese into balls. I also decided to put a small cube of cheese in the middle of my mac square. Finally I did the traditional breading I learned in school. I originally used Italian breadcrumbs but I think the next time I do this I will use Panko breadcrumbs. I also realize after making them that the temperature of the oil cannot be too hot otherwise the mac and cheese never re-heats from having been frozen. This prevented the cube of cheese I placed in the middle from melting. Trial and error that’s what it’s all about. Well here’s some pics to move along on your fried mac n cheese. Would you try this? If so would you change anythingt?
I love when I can find something new to do with eggs. Not just something new but something that taste great too. I mentioned in my previous post that I have come into being addicted to Pinterest. Well, while on one of my many visits to Pinterest I came across an Israeli dish named Shashuka. Now I know the name doesn’t do much on giving you a hint of what it’s made from ( well at least not in English) but I promise you it is full of flavor. Even better than the taste is the ease of making this dish. In less than 30 minutes you’ll have something that tastes wonderful and looks just as appealing. It’s something you can do and invite a couple of friends over for brunch. It won’t damage your pocket and everyone will be happy. Canned tomatoes, eggs, some herbs & spices ( I added onions, mushrooms and spinach to my base), feta cheese and some crusty bread. Who wouldn’t be happy with an invite to a meal like that? My version of Shashuka was adapted from Food 52.
Shashuka
3 tablespoons olive oil
2 large onions caramelized
1 container of baby portabella mushrooms, sliced
2 cups rough chopped fresh spinach
28 ounces canned diced tomatoes
9-10 garlic cloves, chopped small
1 1/2 tablespoons Pilpelchuma, store bought or recipe below
1 tablespoon sweet paprika
1/2 teaspoon salt
1/4 teaspoon cumin
1/4 cup cilantro, roughly chopped (I used flat leaf parsley because I don’t like cilantro)
4-6 eggs
1/4 cup feta cheese
4-6 warm pitas or grilled crusty bread
Pilpelchuma
1 1/2 tablespoons olive oil
1 tablespoon sweet paprika
1/2 tablespoon hot paprika
1/2 teaspoon cayenne
1 pinch cumin
1 pinch salt
Pilpelchuma: Mix ingredients together to form a paste. This will keep for 3 weeks in the fridge.
Heat the oil in a large skillet or pan with lid over low heat.
Add the caramelized onions, mushroom slices, chopped spinach, chopped garlic, paprika, cumin, & pilpelchuma to the pan and saute for 3-4 minutes until fragrant.
Mix in the canned tomatoes & salt. Cover the pan with lid and simmer for 15 minutes. At this point, you can cool the sauce and store to use another day. Just heat it back up in the same pan and continue from here.
Add and mix in the cilantro leaving a bit out of the pan to garnish with later.
Make pockets in the sauce with a wooden spoon or spatula and very carefully crack the eggs into them. Make sure to space the eggs out. There should be sauce in between each egg for them to cook properly (and prettily).
Immediately cover the pan, turn the heat up a bit to medium and cook without lifting the lid for 4-7 minutes depending on how you like your egg yolks. 4 for runny yolk and 7 for hard cooked yolk..
Eat right away while its piping hot. Sopping up all the sauce with the pita. Enjoy!
Shashuka with toasted naan
The finished dish
So get out your contact list, invite a few friends over and go forward & make new memories.
The Chef In Pearls will be apart of this year’s Cookie Swap …yup me and the mini me will be baking cookies in the name of raising funds and awareness for Cookies for Kids’ Cancer. We want you to keep up with us and the blog as we prepare for the great swap. We’ll be making cookies to share with other bloggers as well as receiving cookies. We’ll share our cookie recipe and those of the ones we receive . We are so excited to become apart of this community and even more excited to be helping with a good cause. So don’t forget to like and share our cookie swap posts. We plan to make wonderful new memories with this new endeavor.
How do I tell you that you have become the devil in my life? I spend so much time pinning things to my boards and creating new boards to pin things to. Hours upon hours. Time that I should be writing new blog posts or creating new recipe ideas. Yet somehow that time spent there helps me to do such things. It’s weird in a twisted kind of way. Hours pinning and re-pinning somehow helps me find new ideas and different takes on things I want to share with my readers and students.
I recently came across a pin for a Maple Bar Donut. It immediately took me back to my visit to Miami earlier this year. I got to visit Mojo Donuts where I sampled a Maple Bacon Bar. I fell in love with that donut. It tasted just like breakfast but in a really good way, sweet and salty. Just Perfect. So I decided to try out this recipe I found on Pinterest. The hardest part of making this donut was making the glaze. So without further ado I present you to the Maple Bacon Bar.
Easy Maple Bacon Bars
1 8-count can refrigerated biscuit dough (I used Pillsbury Grand Homestyle Buttermilk biscuits)
2 cups canola oil, for frying
1/4 cup butter
1/2 cup brown sugar
3 TBSP milk
1 TBSP corn syrup
2 tsp maple extract
2 cups powdered sugar
4 strips thick cut bacon
Pour 2 cups of canola oil into a medium sized saucepan and begin heating on medium-low heat.
Cook bacon strips until crispy. Chop into bite size pieces. Set aside in a bowl (try not eat all the bacon before topping donut)
Open the biscuit dough and separate. Gently stretch the biscuits into an oblong shape, as opposed to the round shape they come in.
In a small saucepan, combine butter and brown sugar. Whisk in milk and heat for about 5 minutes on medium heat, stirring often, until butter is melted and sugar is dissolved.
Remove from heat and add in corn syrup and maple extract. Add in powdered sugar 1/2 cup at a time, whisking until smooth between additions. Add 1-2 tsp more milk if necessary. Glaze will begin to harden if you leave it sitting- which is what you want! Once all powdered sugar is added, keep maple glaze warm on the stove, whisking occasionally.
Check the temperature of the oil using a meat thermometer- it needs to read 350 degrees F. Increase heat gradually if necessary.
Once oil is ready, drop bars in 2 at a time. Let cook for about 1-2 minutes, then turn and cook an additional 1-2 minutes on the other side. This process of cooking the doughnuts goes very fast, so have a paper towel covered plate ready to set the bars on when cooked. Bars should be a nice golden brown.
Let bars cool for a few minutes, then whisk the glaze to make sure it’s smooth enough to dip each bar. Dip the bar, then immediately turn glaze side up on a cooling rack and top with bacon bits.
Repeat this process until all bars are fried and glazed.
(recipe adapted from Butter with a side of Bread)
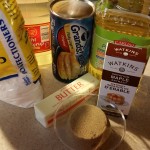
Mise en place
stretched biscuits
chopped bacon ( this was actually turkey bacon)
maple glaze…oooh yum
Time to fry the donuts
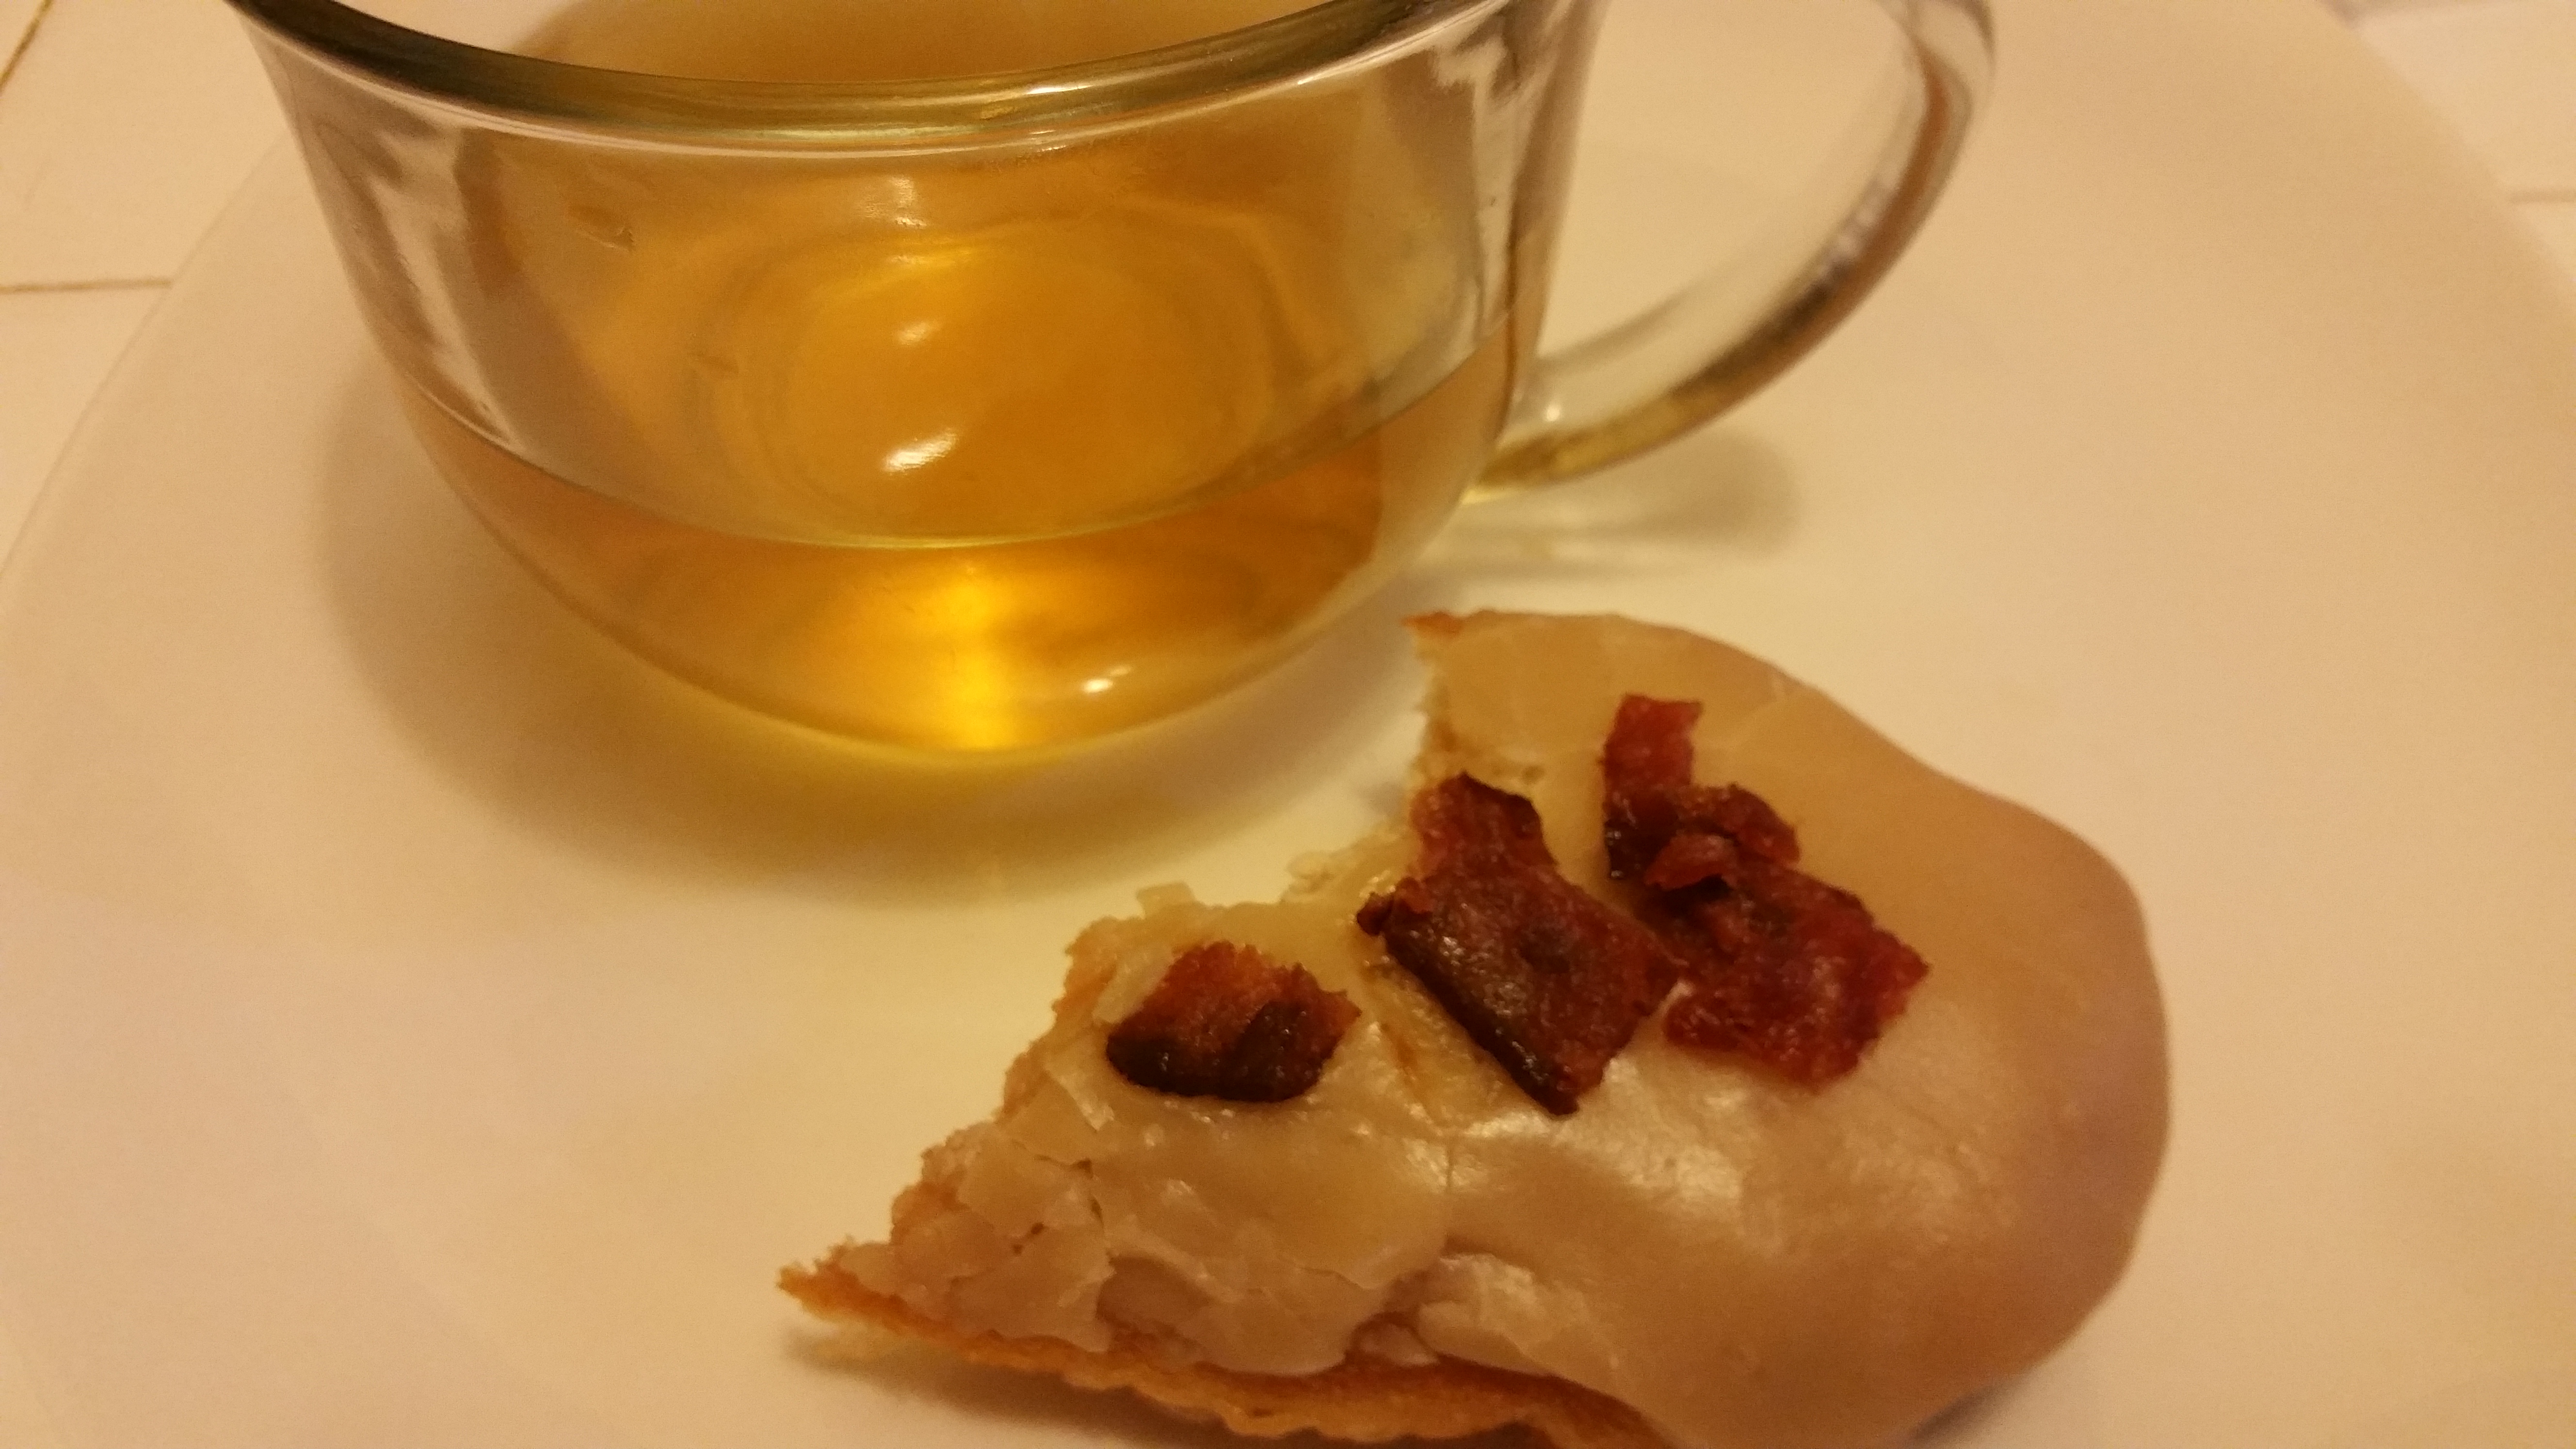
Nothing better than a cup of green tea and a donut
the finished product
Please do not hold me accountable for the addiction the will come from the combination of maple flavor and bacon. Just know that you have been fore warned. Go gather your ingredients and go forward and make memories.
P.S. The entire time I was writing this blog post it kept letting me know I was spelling donut wrong okay fine…doughnut…you happy now spell check?
P.S.S. I accidently sent out this post in an incomplete state. Please forgive me and I hope you enjoy the completed one better.
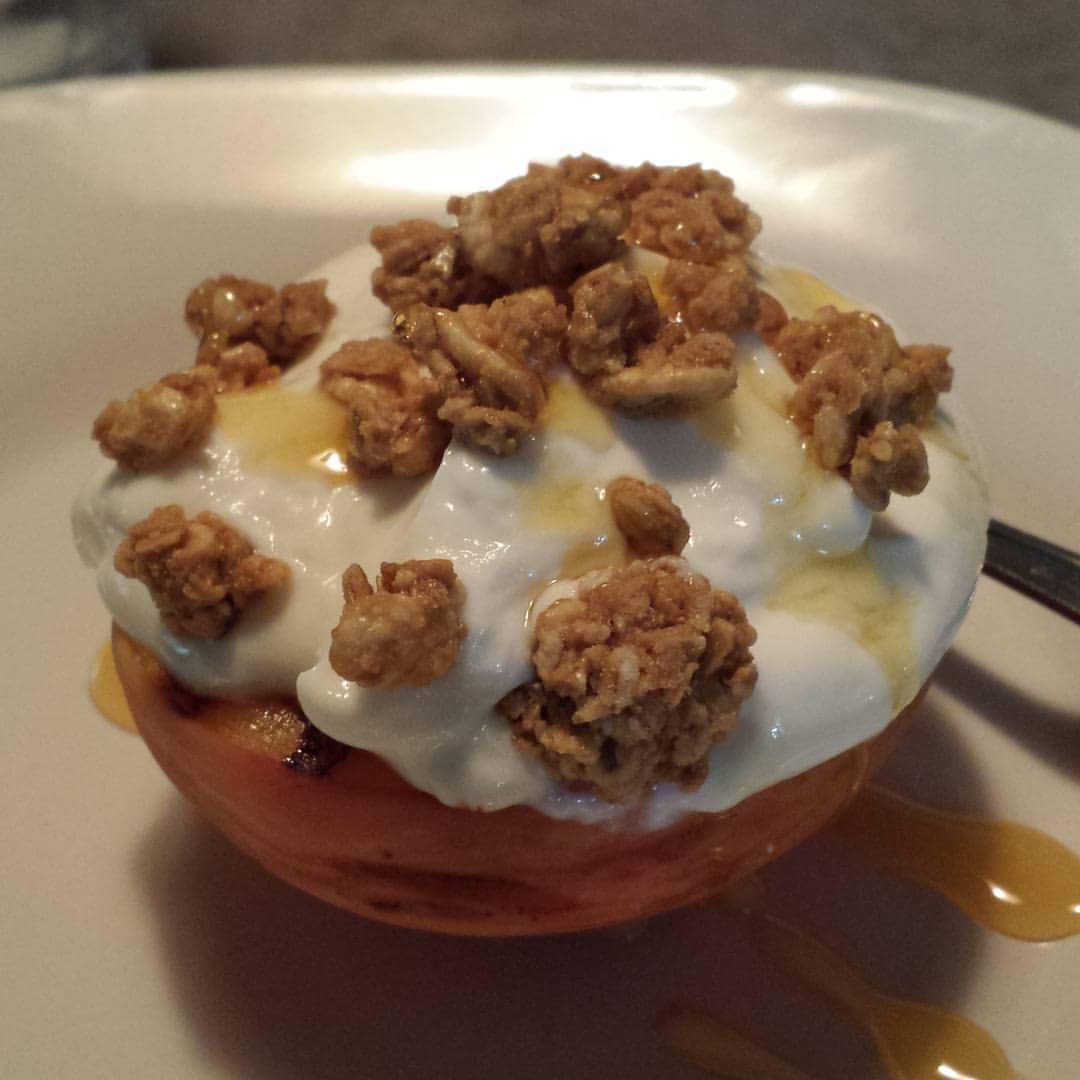
Okay, what do you do when you want dessert for dinner and you don’t want to bake a whole cake? You pull out your grill pan of course. (You guys must be tired of my grill pan but know that I love my grill pan) I had a nicely ripened peach, some vanilla yogurt, granola and honey. It was the making of a really good dinner. I hope you try this one.
Now go forward and make new memories
P.S . This is a good one for those watching their figure…I still don’t know what the calorie count is on this. *Shrugs shoulders*
I have spent the last few days super excited about where The Chef In Pearls is heading. I have actually been walking around here or dare I say floating on cloud 9. I am always happiest when I can see that my passions are accepted and needed by others. The birth of Exclusive Party Of One was not easy ( financially, physically and even emotionally) but it’s here and being well received. In moving forward with this series I bring you a dish made for one, Penne Pasta in a Herb Goat Cheese sauce. I was able to do a live broadcast of me cooking this dish on Periscope. If you weren’t able to catch it I am sharing it here today with the recipe. Please keep in mind that recipes are really suggestions, not just mine but all. If there is something you don’t care for (I HATE cilantro) leave it out or substitute something else in its place (I usually use flat leaf parsley in cilantro’s place) . Get creative with it. This was a meatless dish but you could add chicken or even shrimp or whatever you like. It’s up to you. Okay enough of the yabbering. Here’s the ingredients to go along with the video above.
1 cup dry penne pasta (cooked according to package)
1 TBSP of olive oil
I cup packed spinach leaves
2-3 baby portabella mushrooms sliced
2-3 slices of red onions cut in half
1-2 oz of herb goat cheese ( depends on how rich you want the sauce)
1/3 cup half & half
zest of half of a lemon
1/2 TBSP chopped parsley
fresh parmesean cheese
kosher salt
black pepper
P.S. If you can make this dish for one you can sure make it for two . So go invite the cute guy from down the hall over for dinner. Just a thought : )
Now go forward and make new memories.
P.S.S. If you re-create the dish please share a pic on our Facebook page @TheChefInPearls I’d love to see what you did ; )
I made this dish over a month ago . When I put the pic on social media ( i.e. Instagram, my Facebook page, food groups I participate in) I got so many hits for it. Everyone wanted to know how to prepare it. Just to make sure it wasn’t a fluke I prepared it again and posted a new pic. Same response. So in an effort to be a woman/chef of my word I created a video showing everyone how to re-create the simple yet yummy dish.
Things you’ll need to re-create dish:
Salmon Steaks
Old Bay Seasoning
Cast Iron Grill Pan
Sweet Thai Chili Sauce
Pastry Brush
Please if you re-create this salmon dish share a picture on social media with me and leave me a comment on the post. Now go forward and make new memories.
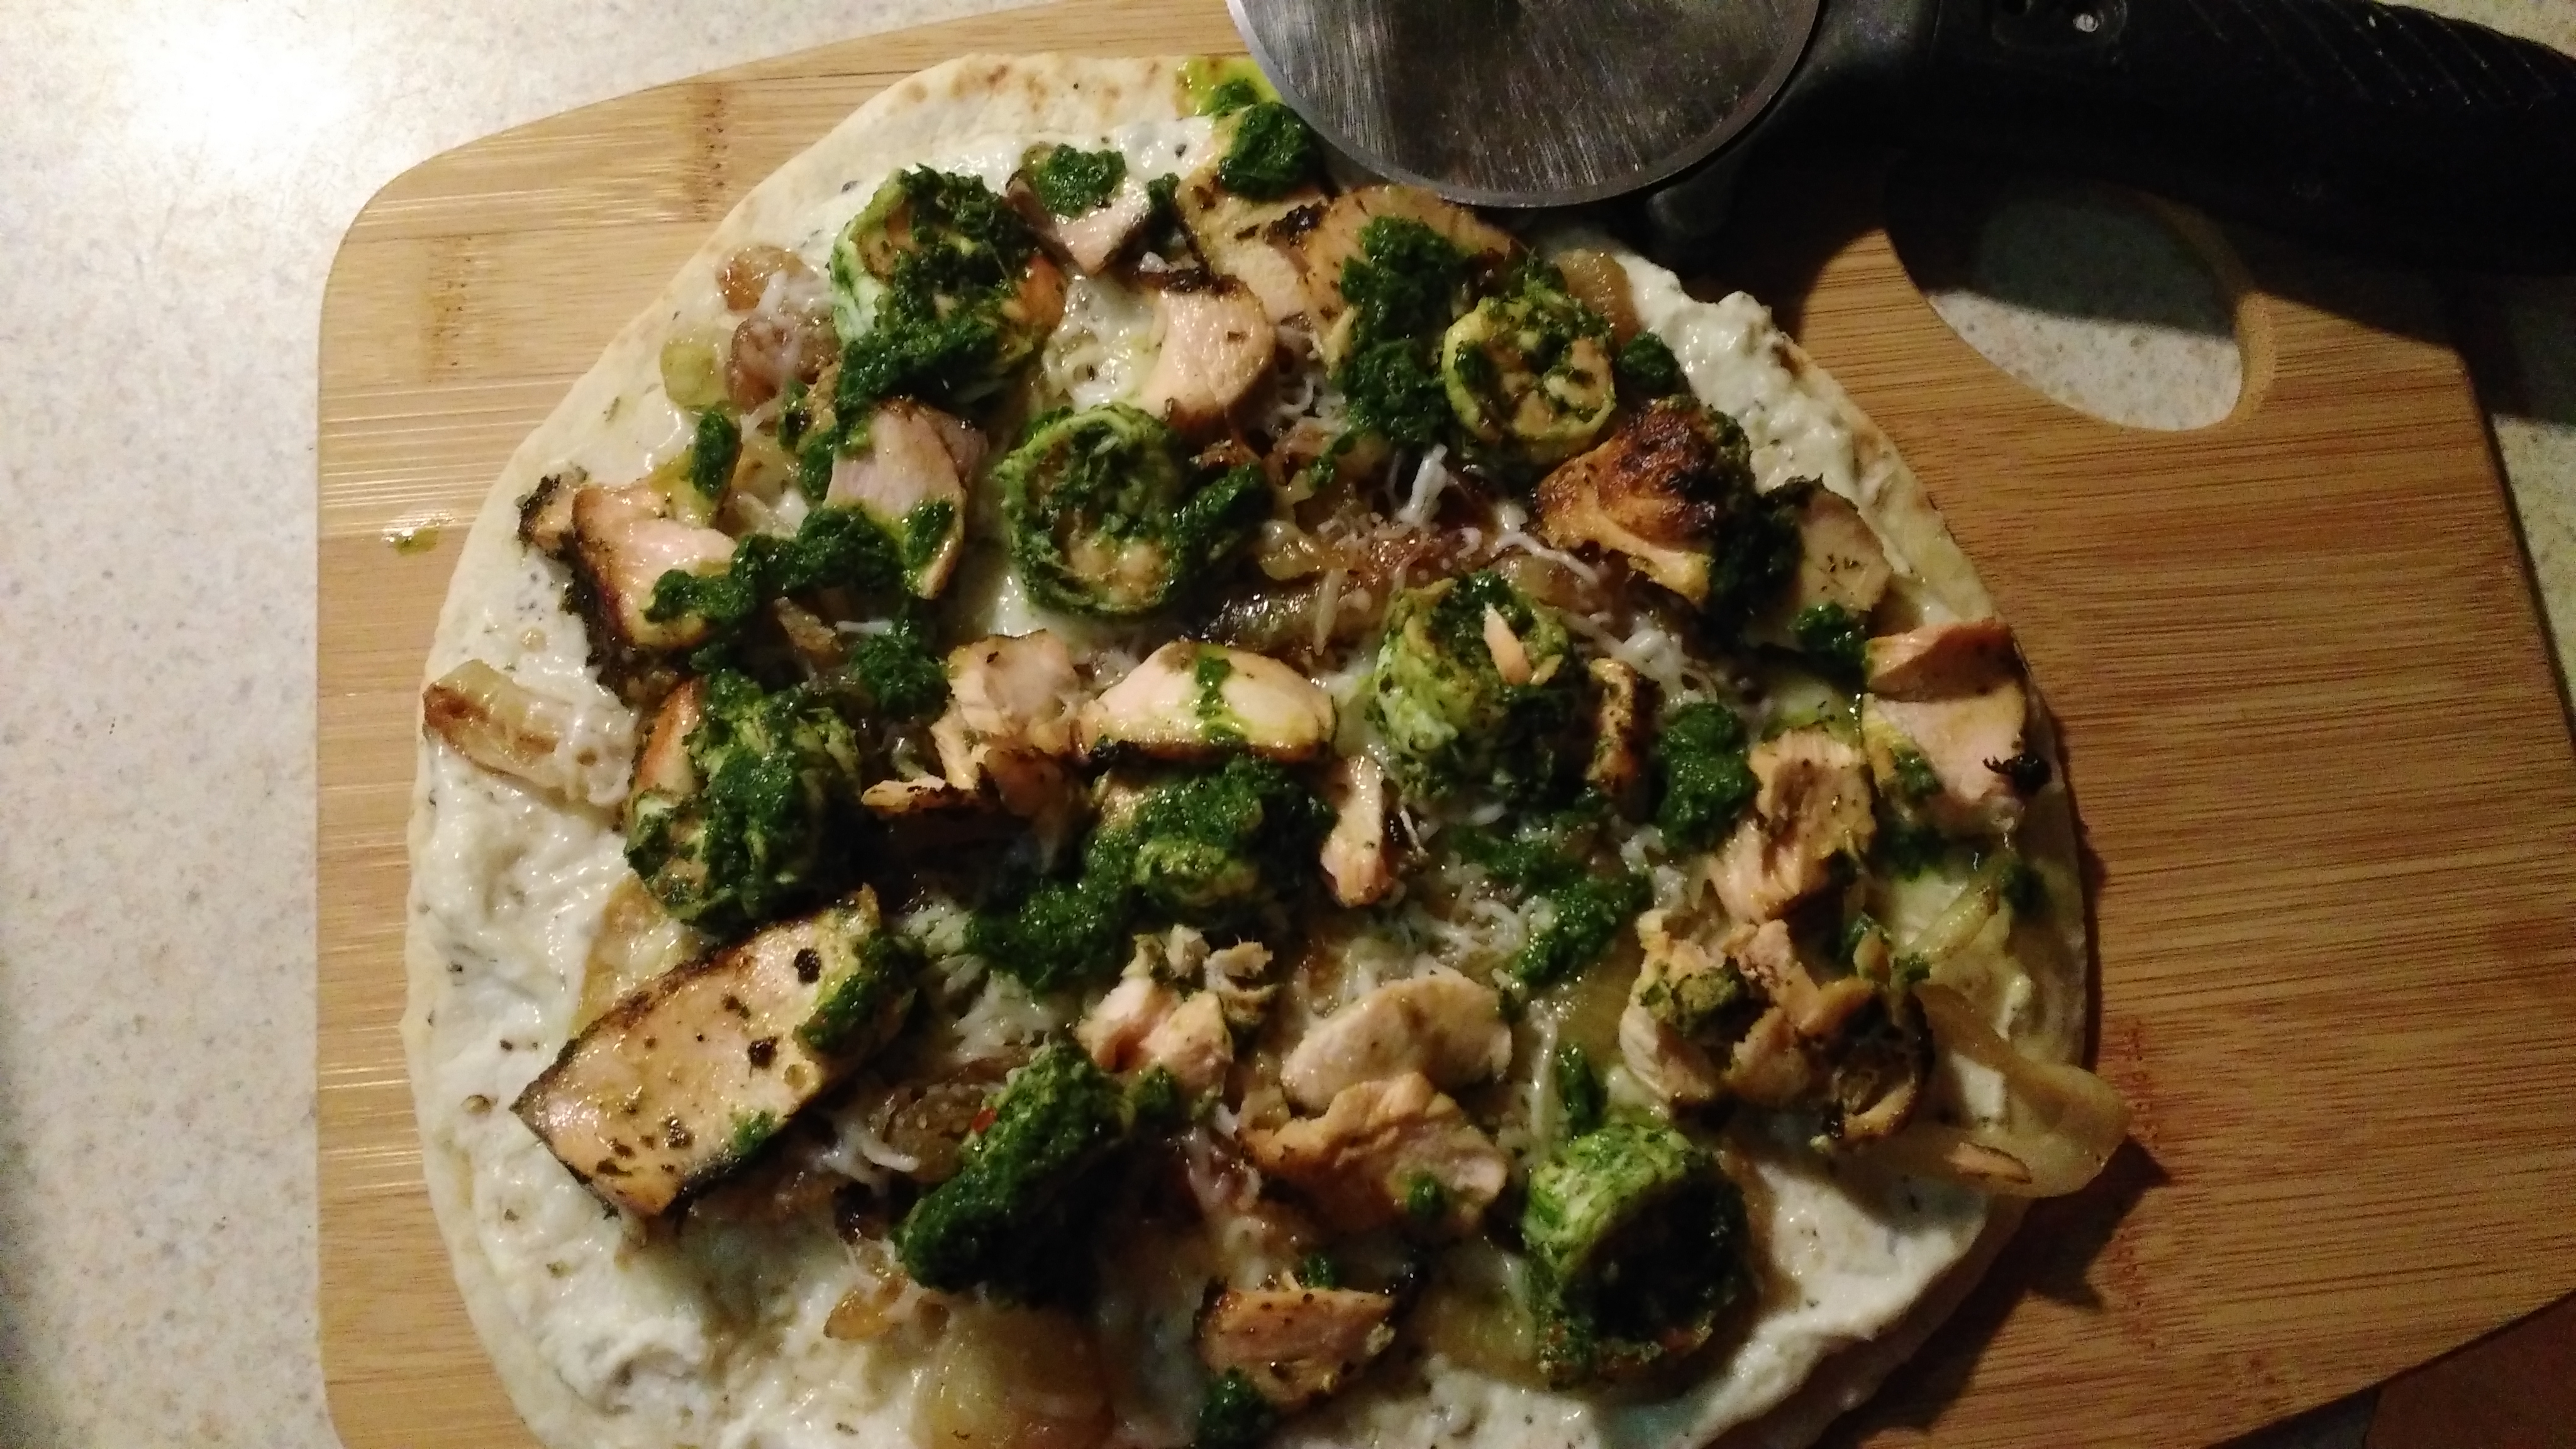
My kids are like most kids they love pizza. What makes them slightly different from most people’s children is that, although they love a good pepperoni pizza they much rather have something a little more upscale. I decided I wanted to make pizza out of freshly made flat bread. The above picture was the ending result. Grilled Chimichurri Salmon and Shrimp Flatbread pizza.
I am going to include the links to the recipes I used to get this wonderful meal made. The first thing I did was to prepare the seafood which meant I needed to make my Chimichurri sauce. Chimichurri is an Argentine sauce used mainly with grilled meats. I used it on seafood and had pretty tasty results. I chose this particular Chimichurri Sauce because it did not use cilantro ( I am not a fan of cilantro. It’s one of those things you either love or hate . I hate it). I reserve at least a 1/2 cup of the sauce to be used later. I then seasoned the shrimp and salmon steaks with Old Bay seasoning in separate containers. I then covered them the seafood in the Chimichurri sauce and refrigerated them.
We are fans of onions so I set out to caramelize onions for an additional topping on out pizza. Making caramelized onions is pretty easy but if you need a recipe to follow here’s an easy one, The onions take on average from 30-45 minutes to cook so plan accordingly. In keeping with the time issue I proceeded to make the dough for the flat bread, it needs an hour to rise. I found this recipe on the New York Times website. I only made 2 changes:
1. I used 1/2 the amount of salt called for in the recipe.
2. I used a grill pan instead of firing up the outdoor grill.
Instead of using a tomato base for the pizzas I decided to do a ricotta cheese base. I used 1 cup of ricotta cheese and stirred in a Tablespoon of McCormick’s Montreal seasoning, 1 teaspoon of Italian Seasoning and 3 cloves of chopped garlic (you can use more or less garlic depending on your preference). Once my flat breads were made and cooled I spread them with the ricotta cheese mixture to start my pizzas off. I took the seafood out of the fridge and grilled them in my grill pan making sure not to over cook. When the salmon was cool I used my hands to break up the fish into nice flakes, I didn’t want hunks of fish but rather sexier pieces of fish. I placed the ricotta covered flat bread on a baking sheet(I was able to do 2 at a time) and continued laying the yummy goodness on top. I added shredded cheese next ( Monterey Jack and Mozzarella), then the caramelized onions followed by the seafood. I placed it in a 400 degree oven for about 10 minutes or until the cheese melted. Once It came out I drizzled some of the reserved Chimchurri Sauce on top. Viola Pizza is done.
Heating grill pan
Flatbread on hot grill pan
Rolled out flatbread dough
Nicely grilled flatbread
Ready to eat
I’m ready for my close up Mr. DeVille
All gone!
Let me know if you make this dish. I would even like to see pictures. Email me at info@TheChefInPearls.com. Now go forward and make memories.
This past Monday July 6, I turned the ripe age of 43. I know most people start dreading birthday after they hit about 35 but not me. I embrace them. I look forward to every year I am blessed to be a part of this life of mine, good and bad. As I get older I get wiser, well at least I like to think so. This year was not my usual gathering of friends and associates. This year as a true Cancerian I crawled into my shell a bit, kept it low-key. My daughter wanted to make sure it was enjoyable so she made plans for me to visit the M.A.C. counter ( yes I love me some make-up) and then we would have dinner at Makan ( a Chinese/ Korean fusion restaurant) I found out about this restaurant through Thrillist (shout outs to them). I had been determined to experience true Ramen soup when I happened upon their list of top Ramen places in Atlanta. I knew the real deal could be nothing like the instant stuff Momofuku created how many ions ago.
So where do I start I met the best make-up artist at the MAC counter, Tommy and Al. They helped me get my make-up shopping on. I learned a little ombre lip action while they were at it,too. We left there and then headed to Makan where we got a chance to take advantage of their “happy hour”. It was an excellent and cost-effective way to try things out. I tried 3 types of Ramen. Let me just warn you the Korean Spicy Ramen felt like satan had made himself comfortable in my chest. It really is spicy.I should have known just from the fact that the soup was red. I enjoyed the pork buns, the spicy wonton dumplings but my favorite for the night was the Kimchi Fried Rice. Too spicy but oh so flavorful. We left there and headed to Jeni’s for ice cream. Yummy. They had a version of an ice cream I grew up liking but isn’t made anymore, Butter Almond. Nostalgia in a styrofoam cup. And what kind of Birthday celebration would it have been without cake. Yes and I got it from my favorite bakery, Apple Butter Bakery. Since I am a chocolate loving girl I had the cake version of their tall, dark, handsome cupcake. As always I was more than pleased. Well until next year.
I made plenty of new memories. Now it’s your turn go visit one of these places and let me know what you think. Go forward and make memories.
P.S. Oh yeah my Birthday outfit was another eShakti find. I got so many compliments on it. eShakti sells customizable clothing in sizes 2-36 check them out. A gift to all for my birthday if you use the code: CASSANDRAMASON you’ll receive a special discount. Now go shop. BTW I’m still accepting gifts