Year: 2015

  • December…..What a month!

    December…..What a month!

    December has been one helluva month. It went so fast. I got to play set designer for Santa Dee.  I was able to decorate his set where families would come to take their Christmas pictures. Me, the lady who has a board specifically labelled “If I could D.I.Y.” on Pinterest. I did everything from create a fireplace, a snowman and tons of gifts all from empty cardboard boxes. I guess I can D.I.Y.

    I eventually ended up being his hostess/cookie maker for his event Cookies and Cocoa with Santa where I made what has come to be known as my Signature Gingerbread Cookies. These cookies landed me selling them to the public and they were well received. You could have ordered them dipped in chocolate, plain or dipped with chopped crystallized ginger. They won’t be back until next holiday season.


    In keeping with the whole cookie theme I participated in a cookie swap, The Great Food Bloggers Cookie Swap. It was a fundraiser designed to bring awareness to childhood cancer and raise money for research. I was more than happy to do my part. It gave me a chance to meet other bloggers and work on cookies. I made chocolate chip rugelachs because they reminded me of home, NYC. You can read all about it here.

    I still had to do Christmas in my own home. My oldest came to visit with his wife and we had a lot of family fun. I made Pulled BBQ, two ways turkey and King Oyster Mushrooms) served on top of a cornbread waffle with a dollop of sour cream and sliced green onions. Everyone agreed it was yummy. I was able to get my Christmas tree up.  I did a Cranberry Wild Rice stuffed Turkey Reloude with a  Brown Sugar Orange Glaze another thumbs up. I finally got to meet my grand-niece in person. I was super excited because she’s even cuter in person. I made a wonderful Christmas dinner but forgot to take pictures. I did however get pics of the cinnamon-sugar buns I made during the day. I say better than nothing.

    Anyway I am currently preparing for the rolling in of the New Year. As usual I will spend it with my kids. We will be dining on  shrimp and grits with some bubbly( theirs non-alcoholic mine very alcoholic). Anyway, I hope you ring in the New Year safe and in the best frame of mind. Until next year go forward and make new memories.

    ~The Chef In Pearls


  • The Great Food Bloggers Cookie Swap

    I am a born and breed New Yorker. I was born in Brooklyn and raised in South Ozone Park , Queens. Growing up I never thought I would ever move out of The Big Apple but I did. I have been a resident of Georgia for over 20 years now. I ran away from all the cold and terrible snow storms but no matter how long I live in Georgia I will always be a New Yorker at heart. You can take the girl out of the city but never the city out of the girl.

    I share all of that with you because I wanted you to understand why I chose to make rugelach cookies as a participant of the The Great Food Bloggers Cookie Swap.  I thought it was a good way to share a bit of me with my fellow swappers. No I’m not Jewish (Don’t know too many African-American Jews,,,except Sammy Davis, Jr & Drake. And technically I don’t know either of them). It’s a cookie I made synonymous with my hometown. Rugelahs meant home to me. I remember the first time I had a chocolate rugelach. I was at a small Jewish bakery on Avenue M in Brooklyn ( I used to travel the city as an employee of the board of Ed.) I got what I always get in the morning on my way to work, a toasted bagel with cream cheese & jelly and small cup of “hot” tea (something I had to learn to distinguish living in the South).  And then I asked to taste these pastries which I was informed were cookies. I fell in love from the first bite. I hope the same happens for you when you re-create these cookies.

    I adopted the recipe from Serious Eats. I only  changed a couple of things about the recipe so I can’t really claim it as my own. Instead of finely chopped bittersweet chocolate in the filling I used mini chocolate chips. I also used an egg wash  before dusting the tops of the cookies with turbinado sugar instead the sugar cinnamon mixture originally called for.

    • For the Dough:
    • 8 ounces (2 sticks) unsalted butter, softened
    • 8 ounces cream cheese, softened
    • 3 tablespoons granulated sugar
    • 1 tablespoon light brown sugar
    • 1/4 teaspoon table salt
    • 1 1/2 teaspoons pure vanilla extract
    • 2 cups (about 10 ounces)all-purpose flour
    • For the Filling:
    • 6 ounces mini chocolate chips
    • 1 tablespoon granulated sugar
    • 1 tablespoon light brown sugar
    • 2 tablespoons cocoa powder
    • For the Topping:
    • 1 egg beaten with 2 tablespoons water
    • 2 tablespoons turbinado sugar

    DIRECTIONS

    1. In bowl of a stand mixer fitted with a paddle attachment, mix butter, cream cheese, granulated sugar, brown sugar, and salt on medium speed until completely combined, about 1 minute. Mix in vanilla until combined. Mix in flour until combined.

      Pat dough into an 8-inch square, wrap dough in plastic wrap, and chill until fairly firm, about 1 hour. In the meantime, mix together ingredients for filling in medium bowl.

      Adjust oven rack to upper-middle and lower-middle positions. Preheat oven to 350°F. Line 2 rimmed baking sheets with parchment paper.

      Cut dough into 4 equal pieces. On a floured surface, and working one piece of dough at a time, roll out into a 12-inch by 4-inch strip. Sprinkle 1/4 of the chocolate mixture onto dough and gently press into dough to adhere

      Working from the long end, gently roll dough strip into a 12-inch long log, making sure seam is at the bottom. Cut log into 1-inch pieces and place on one half of the baking sheet, evenly spacing apart. Repeat with second piece of dough to fill the first pan. Repeat with remaining pieces of dough to fill second pan. (You should have 24 rugelach per pan).

      Brush tops of cookies with egg wash and then sprinkle turbinado sugar on rugelach. Bake until rugelach is light golden brown, 20 to 25 minutes, rotating pans from top to bottom and front to back halfway through baking. Cool for 5 minutes on pan, then transfer rugelach to wire rack to cool completely.

      P.S. Okay so this post was written early but I lost my pics and had to rush and bake new cookies to have pics for my post…Life.

      Hope this recipe inspires you to go forward and make new memmories.

  • No Bake Caramel Apple Cheesecake

    No Bake Caramel Apple Cheesecake

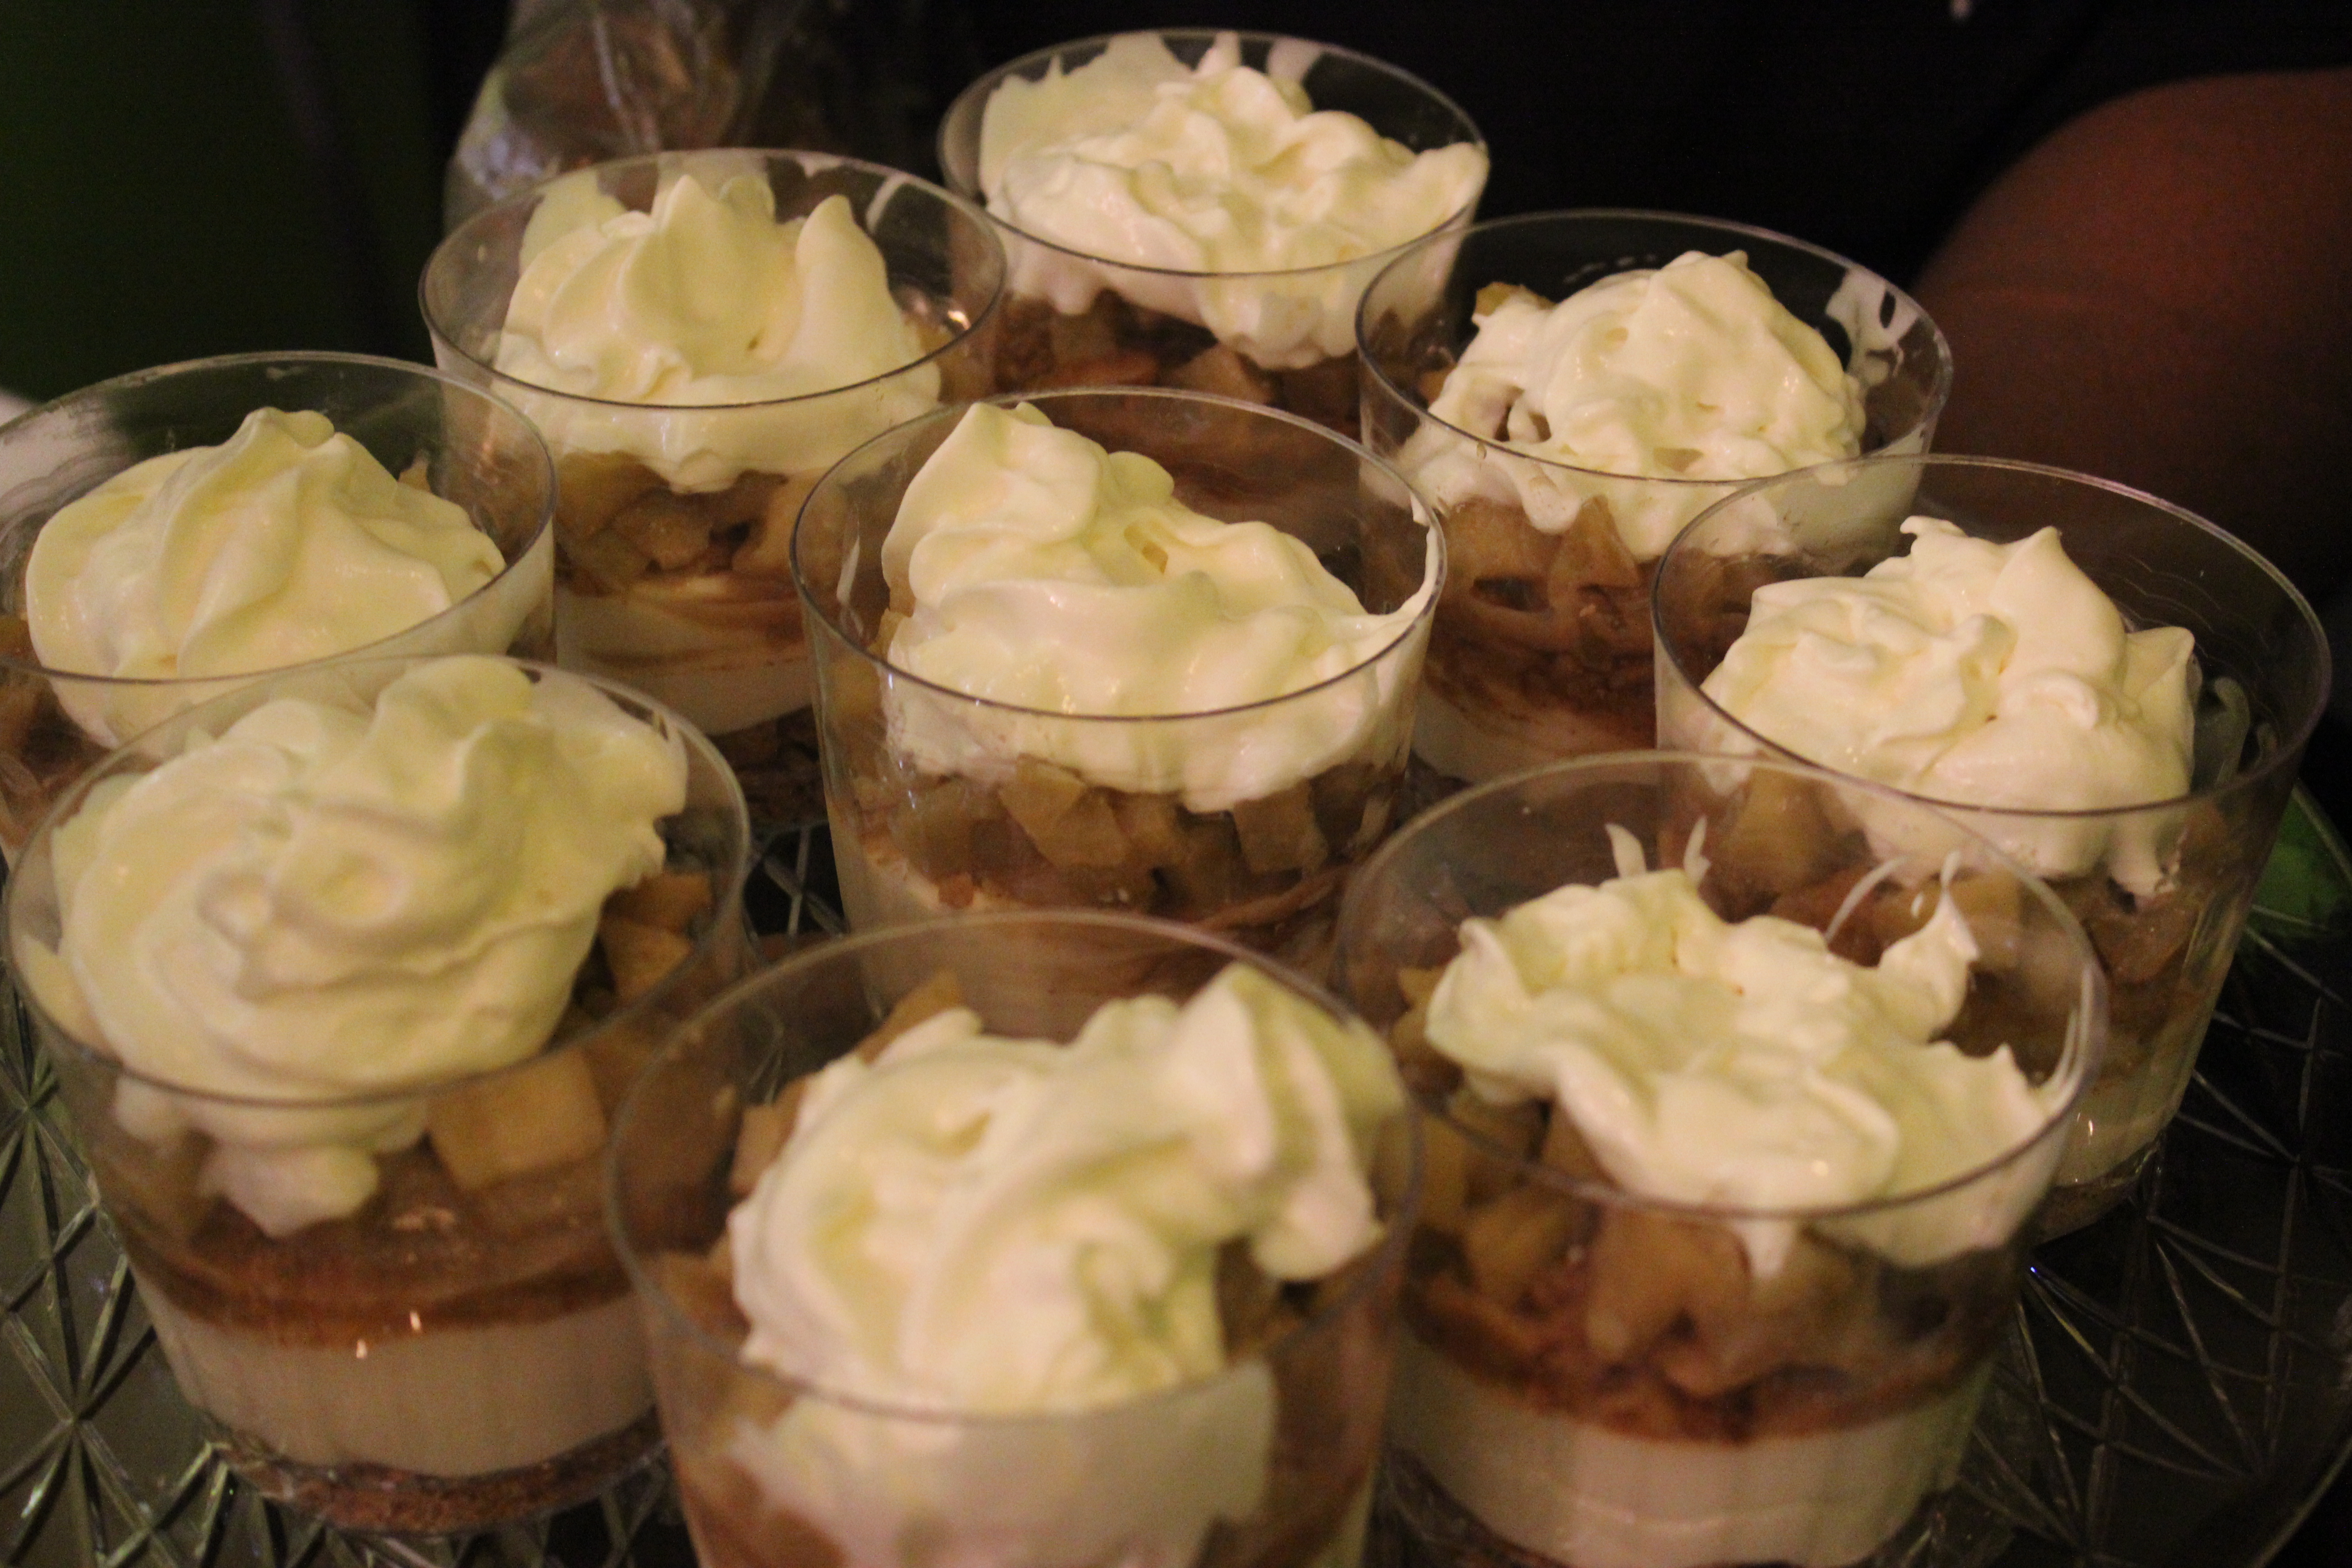
    It can’t get any simpler than this. Diced apples, sugar, butter and cream with a layer of sweetened cream cheese and one of graham cracker crumbs. Dessert that you don’t have to turn on the oven for and ready in under 30 minutes. I think that’s a win-win situation.


    No Bake Caramel Apple Cheesecake


    Crust

    2 large squares of graham crackers

    ¼ teaspoon cinnamon

    1 Tablespoon sugar

    1 tablespoon butter, melted


    Cheesecake                                                                   Apple Filling

    4 ounces cream cheese, softened                                 1 small granny smith apple peeled and diced

    ¼ cup  sugar                                                                       2 Tablespoons dark brown sugar

    ½ teaspoon vanilla                                                          1 Tablespoon butter, unsalted

                                                                                                  ¼ teaspoon cinnamon

                                                                                                  ⅛ teaspoon fresh nutmeg

                                                                                                  1-2 Tablespoons heavy cream or half & half
    Place graham crackers in a ziplock bag and crush with a rolling pin. Mix crumbs with cinnamon, sugar and butter. Spoon into bottom of serving dish.  Mix softened cream cheese with sugar and vanilla until smooth. Spoon on top of graham cracker mixture. heat butter in a pan add apples, brown sugar, cinnamon and nutmeg. Cook for about 5 minutes or until apples are softened. Add cream and cook additional 3 minutes. Remove from stove and allow to cool. Once cool put on top of cream cheese mixture and refrigerate. Serve with fresh whipped cream

  • A Quickie…Fried Mac N Cheese

    A Quickie…Fried Mac N Cheese

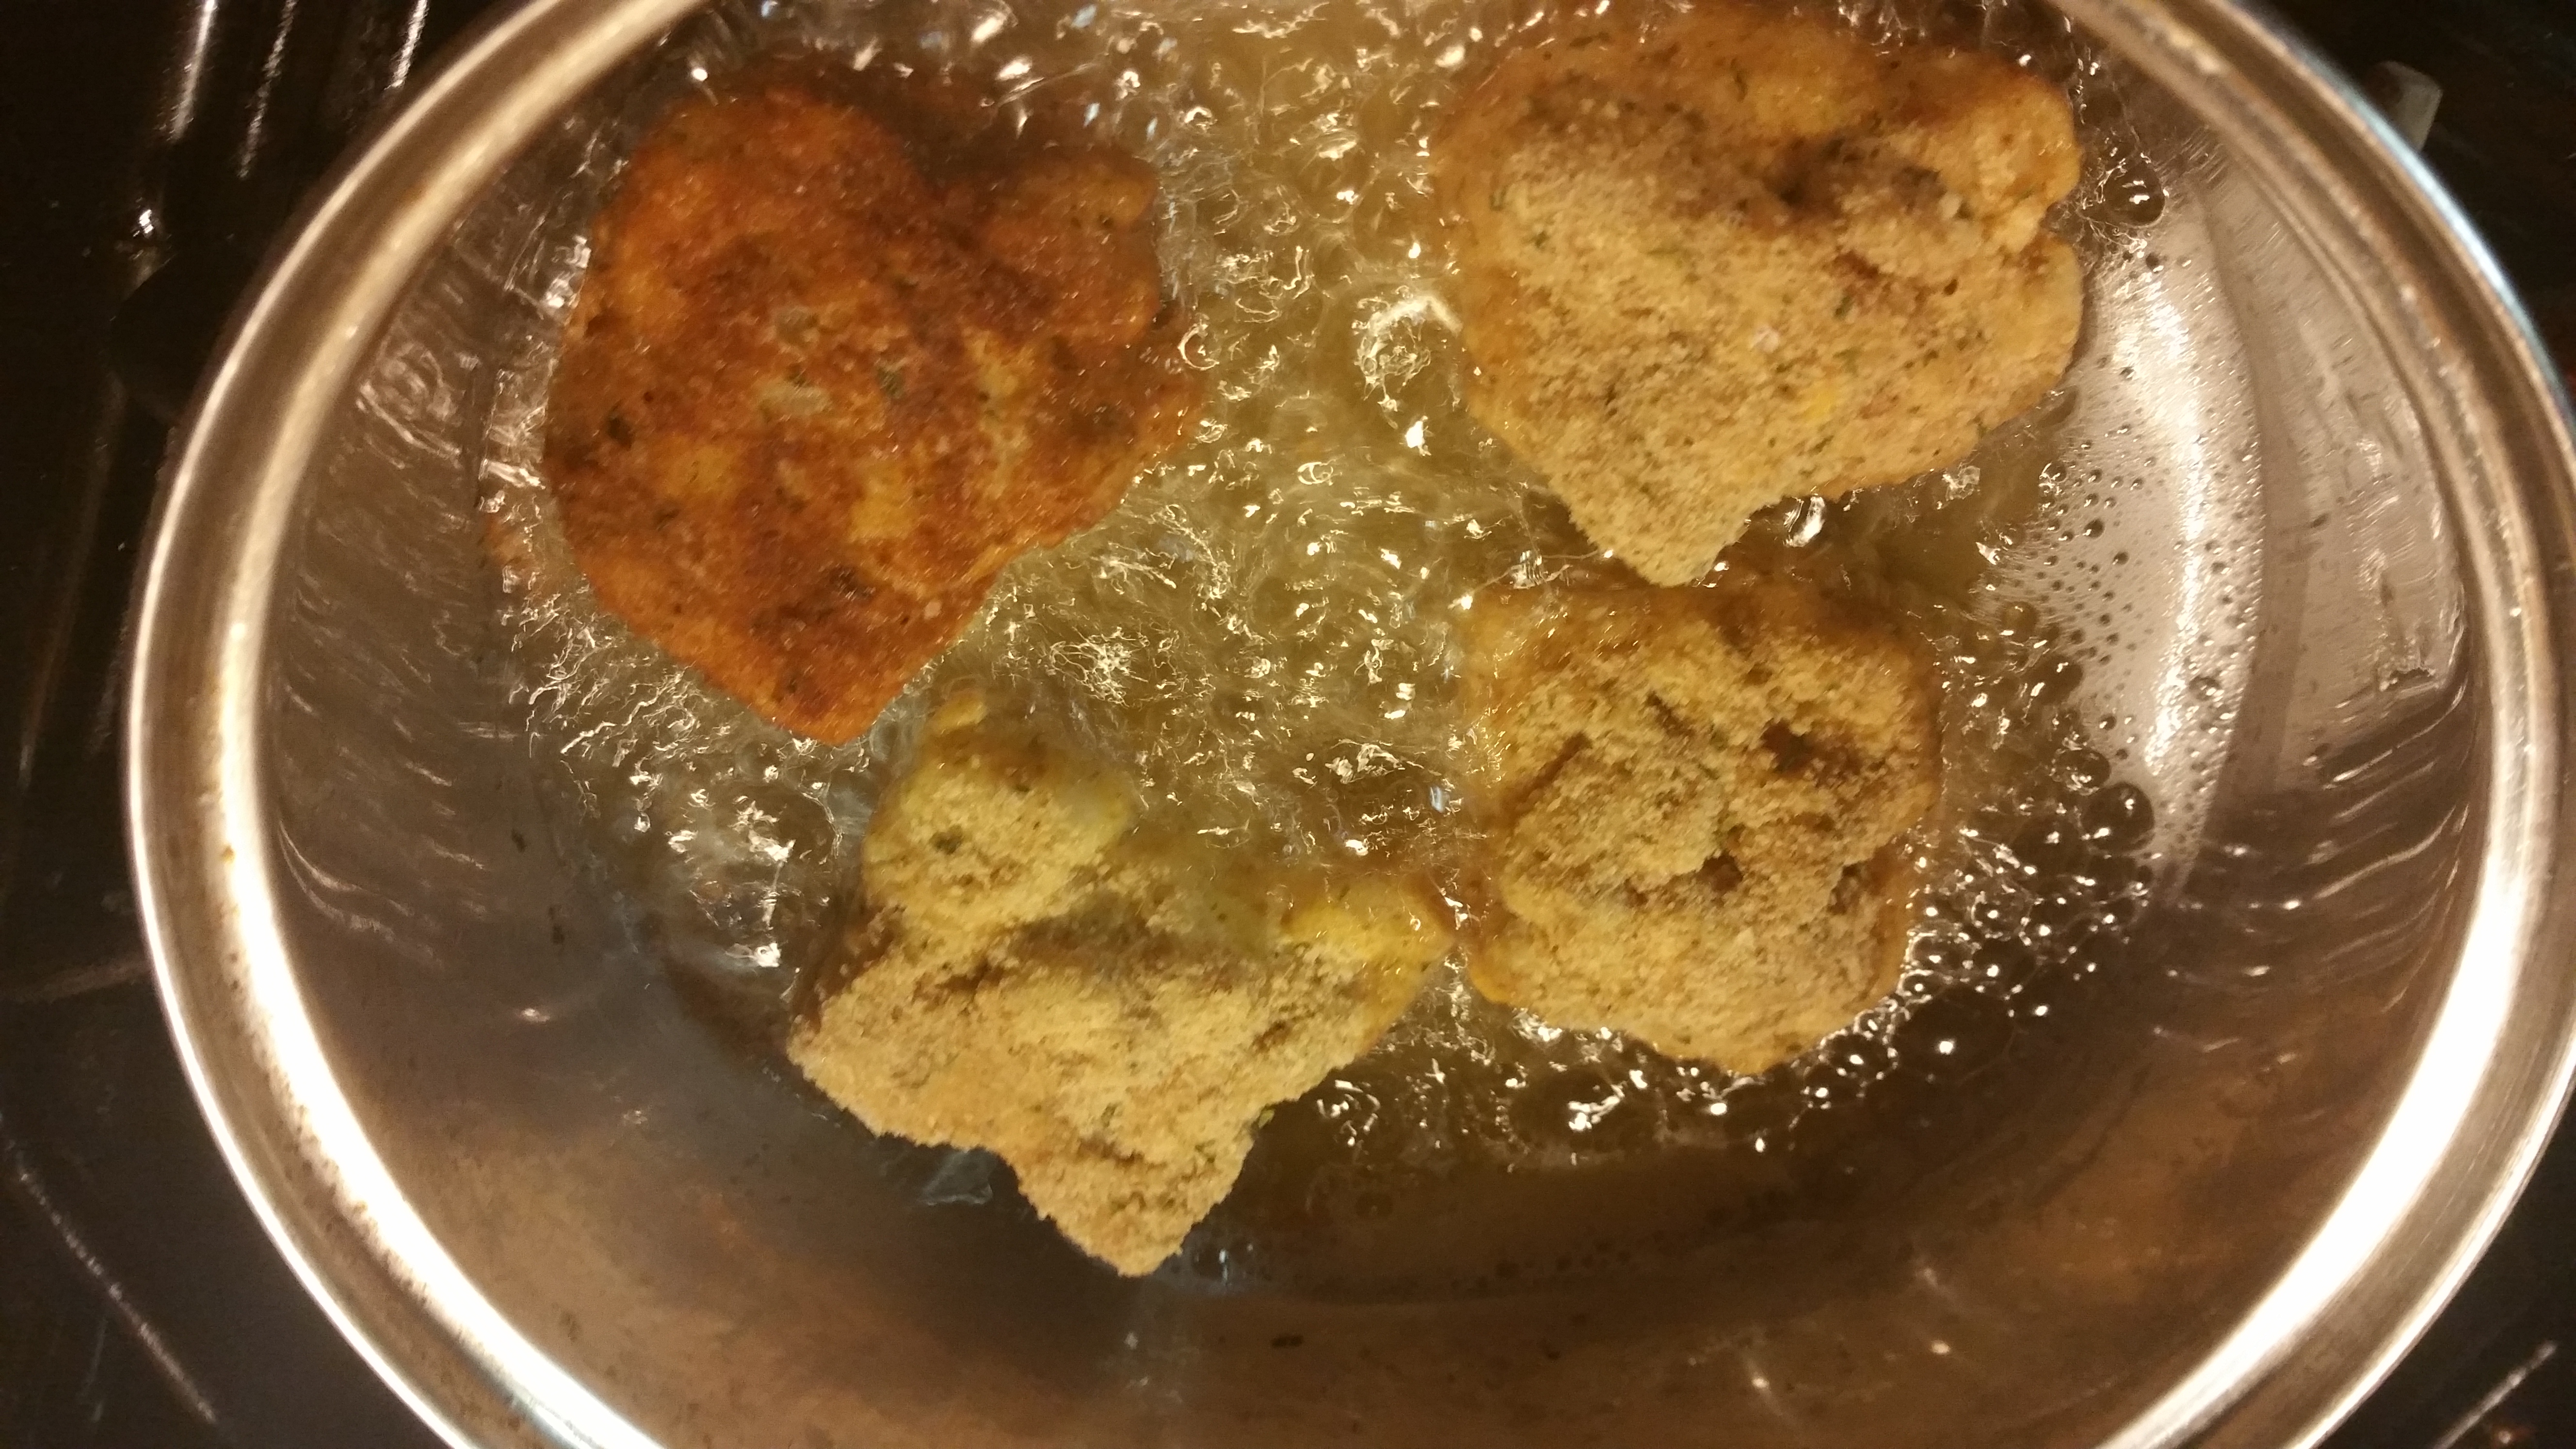
    I had left over macaroni and cheese. Can you believe that? Actually my son left for school before I could finish making it. It was made with the intentions of him taking some back to school with him. So what do you do when you have leftover mac and cheese. You make fried mac and cheese..duh.

    I saw it on a couple of menus in town. So I figured I could track it down on Pinterest to be able to re-create. Then BAM! a slew of links to just how it was done. They were all pretty much the same with a few differences between the recipes. All the recipes required you to scoop and shape into balls that you would then freeze (preferably overnight). The differences were in their breading methods used to get the crispy outside that would protect the yummy cheesy insides. Most said you should use an egg wash and then roll the balls in breads crumbs which you would then place in the fridge to set before frying. I think I had only come across one that had what I was trained to be the standard in breading. Flour, followed by an egg wash then bread crumbs. No need to put in the fridge this way. The crumbs will adhere and not fall off before frying.

    As with anything I cook I have to find a way to make it my own. First I thought it was easier for me to cut them into squares as opposed to shaping the mac and cheese into balls. I also decided to put a small cube of cheese in the middle of my mac square. Finally I did the traditional breading I learned in school. I originally used Italian breadcrumbs but I think the next time I do this I will use Panko breadcrumbs. I also realize after making them that the temperature of the oil cannot be too hot otherwise the mac and cheese never re-heats from having been frozen. This prevented the cube of cheese I placed in the middle from melting. Trial and error that’s what it’s all about. Well here’s some pics to move along on your fried mac n cheese. Would you try this? If so would you change anythingt?

  • When You Got Friends in Snow Places

    When You Got Friends in Snow Places

    There is nothing cooler than being able to say you know Santa and actually knowing him. Yep. Your girl the Chef In Pearls not only knows Santa but recently did a photo shoot with him and Mrs. Claus. I mean I can’t get any cooler than that or can I? I probably could be cooler but that’s a whole other post.

    Actually let’s not save it for another post. Let’s deal with it in this post. You know what makes me cooler even than just knowing Santa? The fact of being able to call him my brother. Yep Santa Dee of The Real Black Santa is my brother and the young lady who plays Mrs. Claus with him is actually my mother. So yeah I think I am way cooler that I previously thought I was. The only other person I think is cooler than me would be his 10 year old daughter who gets to tell everyone, ” Santa is my Dad”.

    My brother gained a lot of popularity in a world where his skin color makes him different or not the norm. But he is the real deal. His beard is not fake but actually grows from his face. It is naturally white not bleached or died to get the color but actually white because it grew that way. It’s a family trait, the gray hair thing we got going on. He earnestly looks forward to the season because he likes the smile he puts on the children’s faces. I still remember how in awe I felt when I first saw him in a Santa suit. Instantly I just wanted to tell him what I wanted for Christmas in hopes that it would be waiting for me under the tree.

    I know a lot of people don’t believe or even like the concept of Santa Claus. If for nothing else, when presented correctly, it’s the ideal of showing love to others. That’s what this season is all about. All anyone is really looking for is to be loved. Even the smallest token is appreciated when truly given out of love. That’s all Santa Dee wants to show the world. It may be a concept for children but believe me when I say it touches even the adults. They look forward to the chance to be able to bring their children in to take pictures. To be able to share a few words with him. At times they are more excited than the kids. They want to be the cool parents. I guess them, like me, want to be able to say they know Santa.  That gives them some kind of kid cred amongst their children and other children they may know.

    Keep up with me and Santa Dee because we’ve somethings in the making. Hopefully we can help you with your memory making this season through cooking, some pictures or even some kind words. Now get off the computer and go makes some memories.

    (All Photos by Nicole Denise)

  • Quickie… Get Ready. Get Set. Holidays

    Quickie… Get Ready. Get Set. Holidays

    Holiday-dinner-table

    It’s that time of the year again. You know where family gather and people eat like there’s no tomorrow. It’s also the time of year when everyone wants to show off their culinary skills (or the lack there of) with tables full of traditional and not so traditional meals. Well with the weeks leading up to the big turkey day and Christmas fast approaching after that The Chef In pearls will be sharing video tips to get you through the holidays with ease. You’ll be able to participate in the videos by catching them live on Periscope. You can download the app for free in your app store, Apple and Android users alike. Once downloaded look for me as, you guessed it, The Chef In Pearls. Then listen out for that sexy whistle because I will be coming to you live . You can always let me know some of the things that are your biggest challenges and I will try to address them in the scopes. Looking forward to helping you make new memories this holiday season

    (image from realstylenetwork.com)
  • A Quickie…..Shashuka

    A Quickie…..Shashuka

    I love when I can find something new to do with eggs. Not just something new but something that taste great too. I mentioned in my previous post that I have come into being addicted to Pinterest. Well, while on one of my many visits to Pinterest I came across an Israeli dish named Shashuka. Now I know the name doesn’t do much on giving you a hint of what it’s made from ( well at least not in English) but I promise you it is full of flavor. Even better than the taste is the ease of making this dish. In less than 30 minutes you’ll have something that tastes wonderful and looks just as appealing. It’s something you can do and invite a couple of friends over for brunch. It won’t damage your pocket and everyone will be happy. Canned tomatoes, eggs, some herbs & spices ( I added onions, mushrooms and spinach to my base), feta cheese and some crusty bread. Who wouldn’t be happy with an invite to a meal like that? My version of Shashuka was adapted from Food 52.

    Shashuka

    • tablespoons olive oil
    • 2 large onions caramelized
    • 1 container of baby portabella mushrooms, sliced
    • 2 cups rough chopped fresh spinach
    • 28 ounces canned diced tomatoes
    • 9-10 garlic cloves, chopped small
    • 1 1/2 tablespoons Pilpelchuma, store bought or recipe below
    • tablespoon sweet paprika
    • 1/2 teaspoon salt
    • 1/4 teaspoon cumin
    • 1/4 cup cilantro, roughly chopped (I used flat leaf parsley because I don’t like cilantro)
    • 4-6 eggs
    • 1/4 cup feta cheese
    • 4-6 warm pitas or grilled crusty bread


    Pilpelchuma

    • 1 1/2 tablespoons olive oil
    • tablespoon sweet paprika
    • 1/2 tablespoon hot paprika
    • 1/2 teaspoon cayenne
    • pinch cumin
    • pinch salt
    1. Pilpelchuma: Mix ingredients together to form a paste. This will keep for 3 weeks in the fridge.
    2. Heat the oil in a large skillet or pan with lid over low heat.
    3. Add the caramelized onions, mushroom slices, chopped spinach, chopped garlic, paprika, cumin, & pilpelchuma to the pan and saute for 3-4 minutes until fragrant.
    4. Mix in the canned tomatoes & salt. Cover the pan with lid and simmer for 15 minutes. At this point, you can cool the sauce and store to use another day. Just heat it back up in the same pan and continue from here.
    5. Add and mix in the cilantro leaving a bit out of the pan to garnish with later.
    6. Make pockets in the sauce with a wooden spoon or spatula and very carefully crack the eggs into them. Make sure to space the eggs out. There should be sauce in between each egg for them to cook properly (and prettily).
    7. Immediately cover the pan, turn the heat up a bit to medium and cook without lifting the lid for 4-7 minutes depending on how you like your egg yolks. 4 for runny yolk and 7 for hard cooked yolk..
    8. Eat right away while its piping hot. Sopping up all the sauce with the pita. Enjoy!

    So get out your contact list, invite a few friends over and go forward & make new memories.


  • Cookie Swap….YAY!

    Cookie Swap….YAY!

    The Chef In Pearls will be apart of this year’s Cookie Swap …yup me and the mini me will be baking cookies in the name of raising funds and awareness for Cookies for Kids’ Cancer. We want you to keep up with us and the blog as we prepare for the great swap. We’ll be making cookies to share with other bloggers as well as receiving cookies. We’ll share our cookie recipe and those of the ones we receive . We are so excited to become apart of this community and even more excited to be helping with a good cause. So don’t forget to like and share our cookie swap posts. We plan to make wonderful new memories with this new endeavor.

  • A Quickie…..An Open Letter

    A Quickie…..An Open Letter


    Dear Pinterest,

    How do I tell you that you have become the devil in my life? I spend so much time pinning things to my boards and creating new boards to pin things to. Hours upon hours. Time that I should be writing new blog posts or creating new recipe ideas. Yet somehow that time spent there helps me to do such things. It’s weird in a twisted kind of way.  Hours pinning and re-pinning somehow helps me find new ideas and different takes on things I want to share with my readers and students.

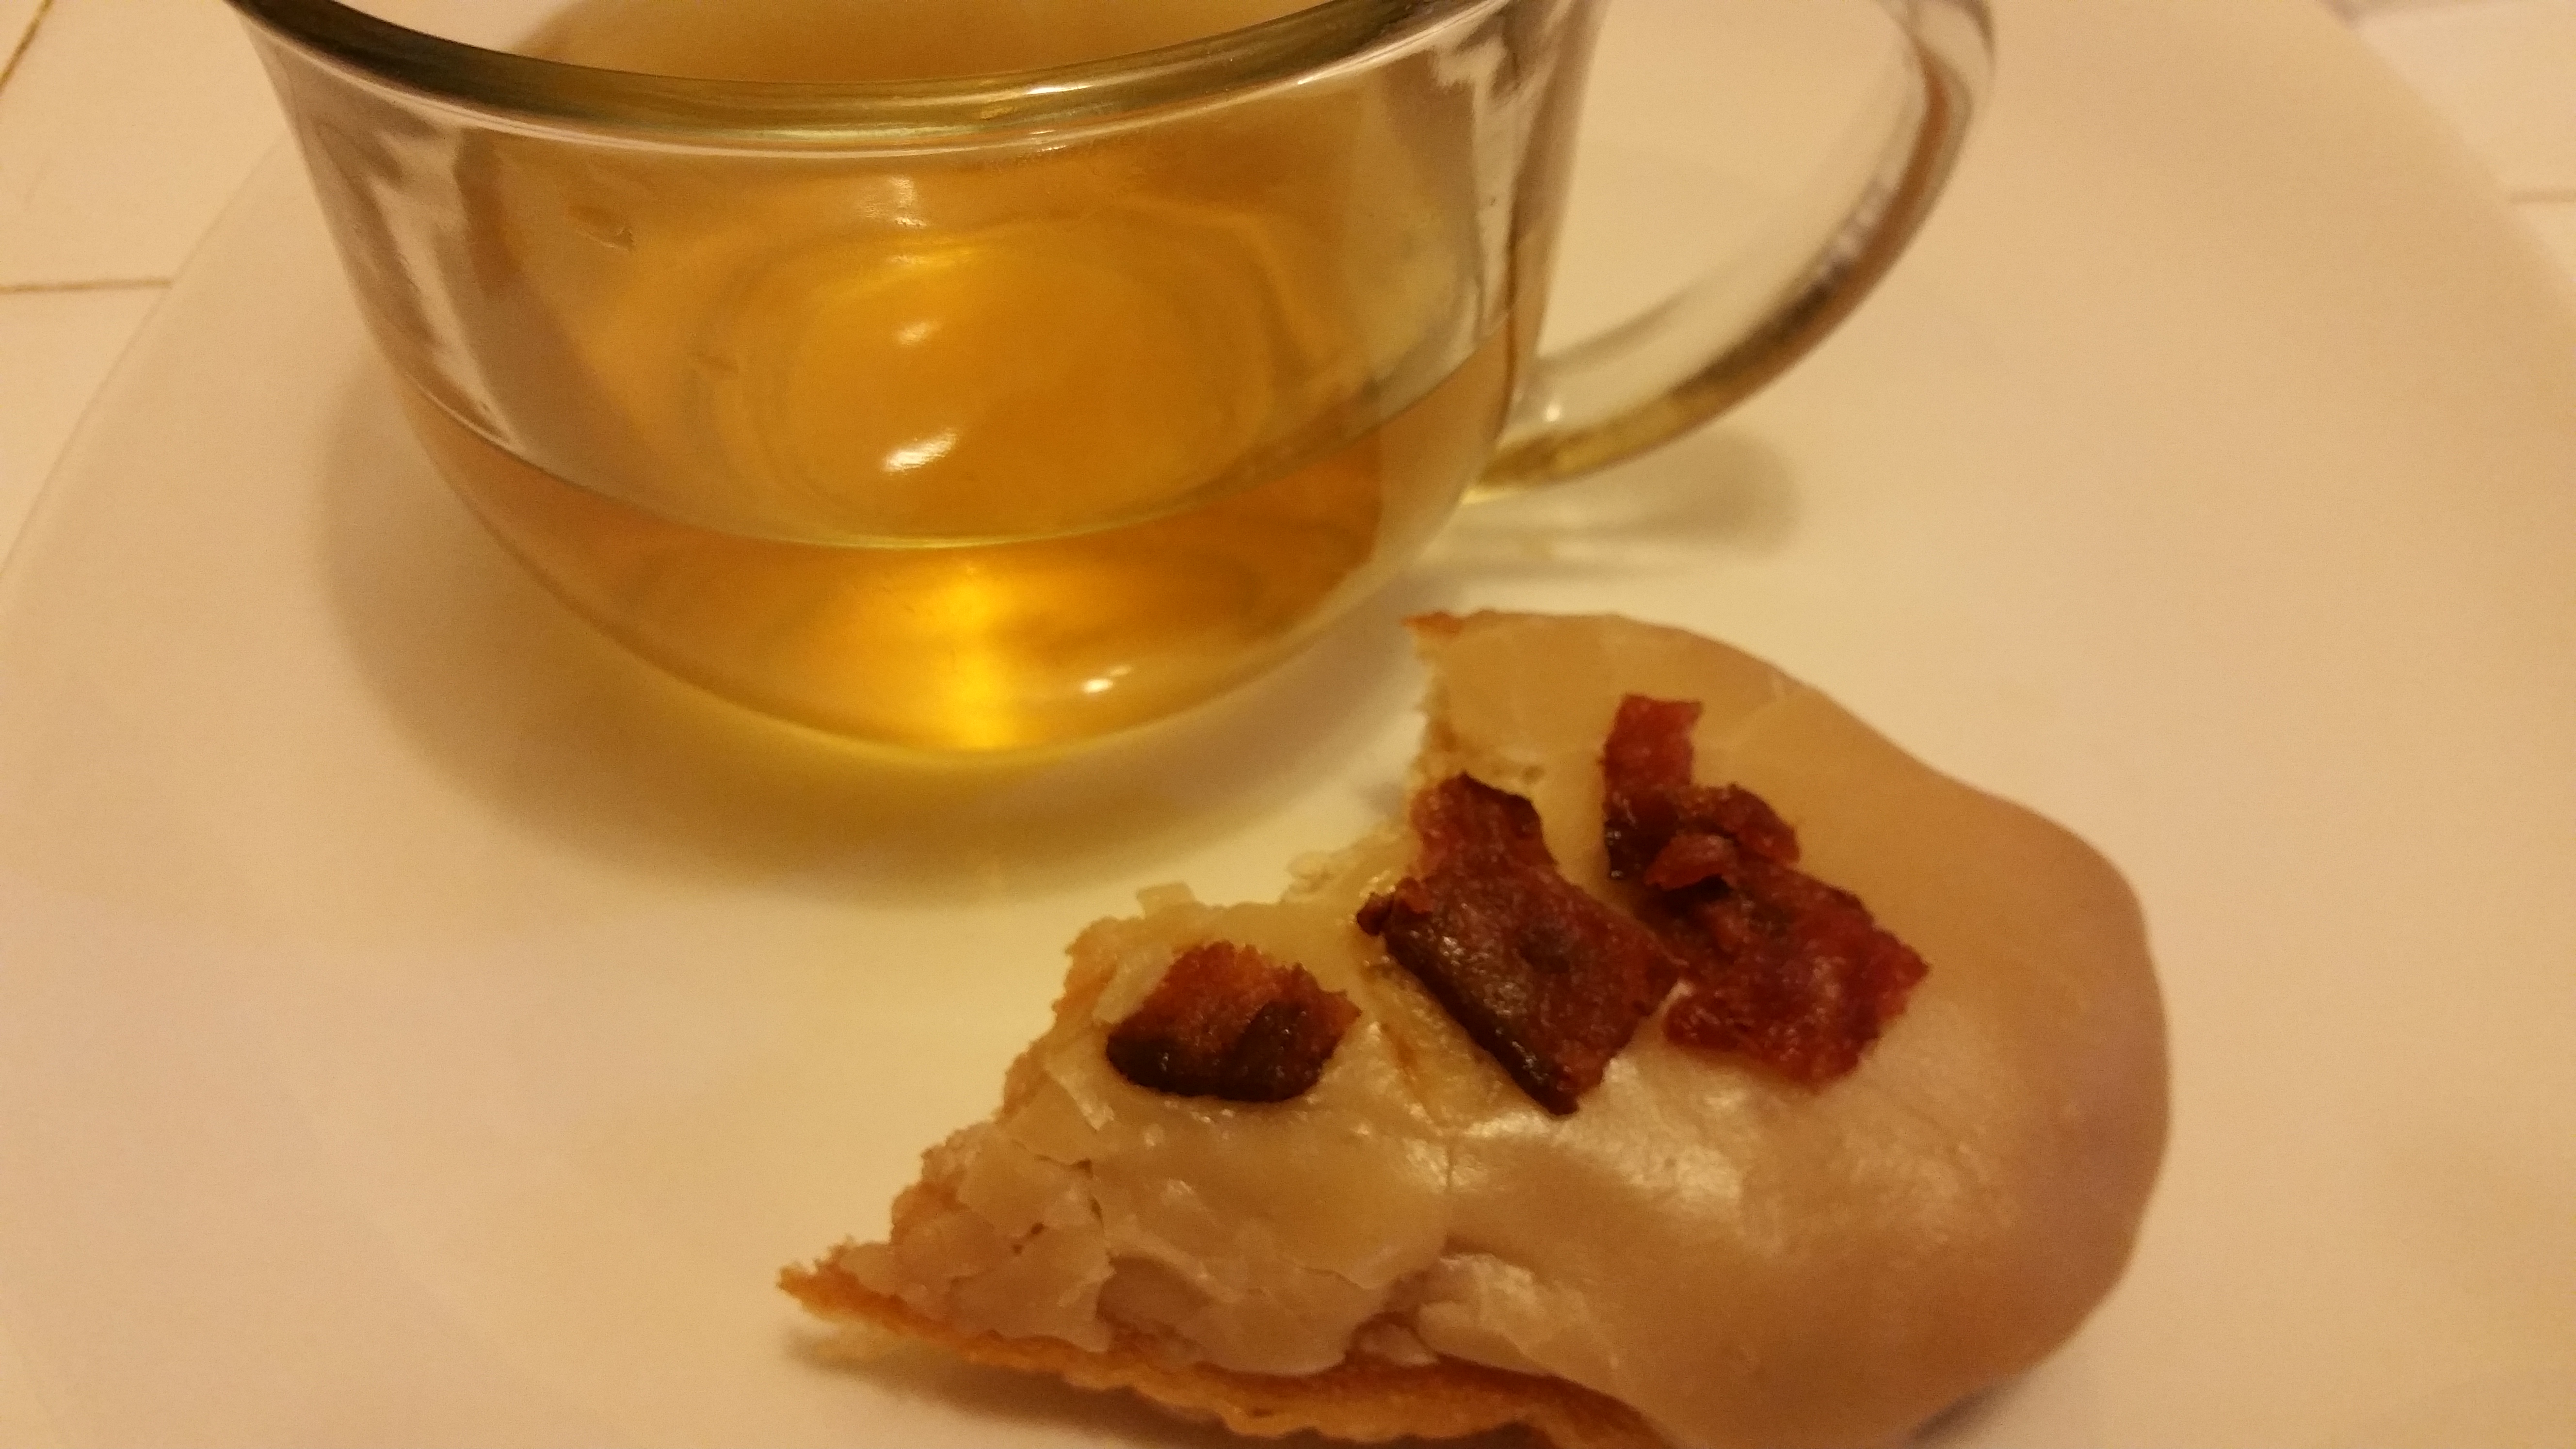
    I recently came across a pin for a Maple Bar Donut. It immediately took me back to my visit to Miami earlier this year.  I got to visit Mojo Donuts where I sampled a Maple Bacon Bar. I fell in love with that donut. It tasted just like breakfast but in a really good way, sweet and salty. Just Perfect. So I decided to try out this recipe I found on Pinterest. The hardest part of making this donut was making the glaze. So without further ado I present you to the Maple Bacon Bar.

    Easy Maple Bacon Bars

    • 1 8-count can refrigerated biscuit dough (I used Pillsbury Grand Homestyle Buttermilk biscuits)
    • 2 cups canola oil, for frying
    • 1/4 cup butter
    • 1/2 cup brown sugar
    • 3 TBSP milk
    • 1 TBSP corn syrup
    • 2 tsp maple extract
    • 2 cups powdered sugar
    • 4 strips thick cut bacon

    Pour 2 cups of canola oil into a medium sized saucepan and begin heating on medium-low heat.

    Cook bacon strips until crispy. Chop into bite size pieces. Set aside in a bowl (try not eat all the bacon before topping donut)

    Open the biscuit dough and separate. Gently stretch the biscuits into an oblong shape, as opposed to the round shape they come in.

    In a small saucepan, combine butter and brown sugar. Whisk in milk and heat for about 5 minutes on medium heat, stirring often, until butter is melted and sugar is dissolved.

    Remove from heat and add in corn syrup and maple extract. Add in powdered sugar 1/2 cup at a time, whisking until smooth between additions. Add 1-2 tsp more milk if necessary. Glaze will begin to harden if you leave it sitting- which is what you want! Once all powdered sugar is added, keep maple glaze warm on the stove, whisking occasionally.

    Check the temperature of the oil using a meat thermometer- it needs to read 350 degrees F. Increase heat gradually if necessary.

    Once oil is ready, drop bars in 2 at a time. Let cook for about 1-2 minutes, then turn and cook an additional  1-2 minutes on the other side. This process of cooking the doughnuts goes very fast, so have a paper towel covered plate ready to set the bars on when cooked. Bars should be a nice golden brown.

    Let bars cool for a few minutes, then whisk the glaze to make sure it’s smooth enough to dip each bar. Dip the bar, then immediately turn glaze side up on a cooling rack and top with bacon bits.

    Repeat this process until all bars are fried and glazed.

    (recipe adapted from Butter with a side of Bread)

    Please do not hold me accountable for the addiction the will come from the combination of maple flavor and bacon. Just know that you have been fore warned. Go gather your ingredients and go forward and make memories.

    P.S. The entire time I was writing this blog post it kept letting me know I was spelling donut wrong okay fine…doughnut…you happy now spell check?

    P.S.S. I accidently sent out this post in an incomplete state. Please forgive me and I hope you enjoy the completed one better.


  • Dessert for Dinner

    Dessert for Dinner

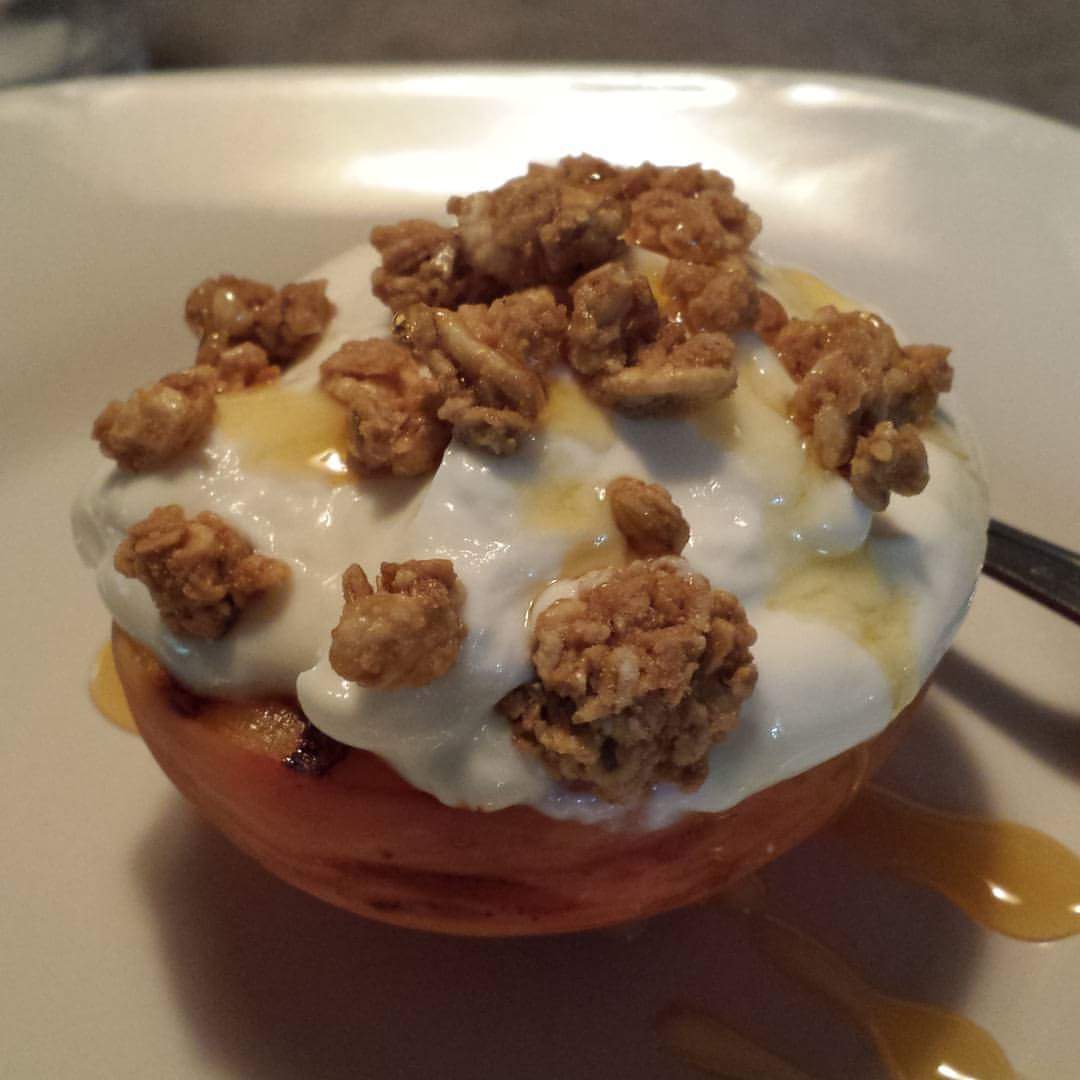
    Okay, what do you do when you want dessert for dinner and you don’t want to bake a whole cake? You pull out your grill pan of course. (You guys must be tired of my grill pan but know that I love my grill pan) I had a nicely ripened peach, some vanilla yogurt, granola and honey. It was the making of a really good dinner. I hope you try this one.

    Now go forward and make new memories

    P.S . This is a good one for those watching their figure…I still don’t know what the calorie count is on this. *Shrugs shoulders*