Tag: Pinterest

  • A Quickie…Fried Mac N Cheese

    A Quickie…Fried Mac N Cheese

    I had left over macaroni and cheese. Can you believe that? Actually my son left for school before I could finish making it. It was made with the intentions of him taking some back to school with him. So what do you do when you have leftover mac and cheese. You make fried mac and cheese..duh.

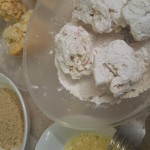
    I saw it on a couple of menus in town. So I figured I could track it down on Pinterest to be able to re-create. Then BAM! a slew of links to just how it was done. They were all pretty much the same with a few differences between the recipes. All the recipes required you to scoop and shape into balls that you would then freeze (preferably overnight). The differences were in their breading methods used to get the crispy outside that would protect the yummy cheesy insides. Most said you should use an egg wash and then roll the balls in breads crumbs which you would then place in the fridge to set before frying. I think I had only come across one that had what I was trained to be the standard in breading. Flour, followed by an egg wash then bread crumbs. No need to put in the fridge this way. The crumbs will adhere and not fall off before frying.

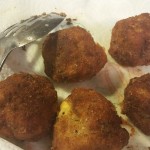
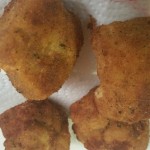
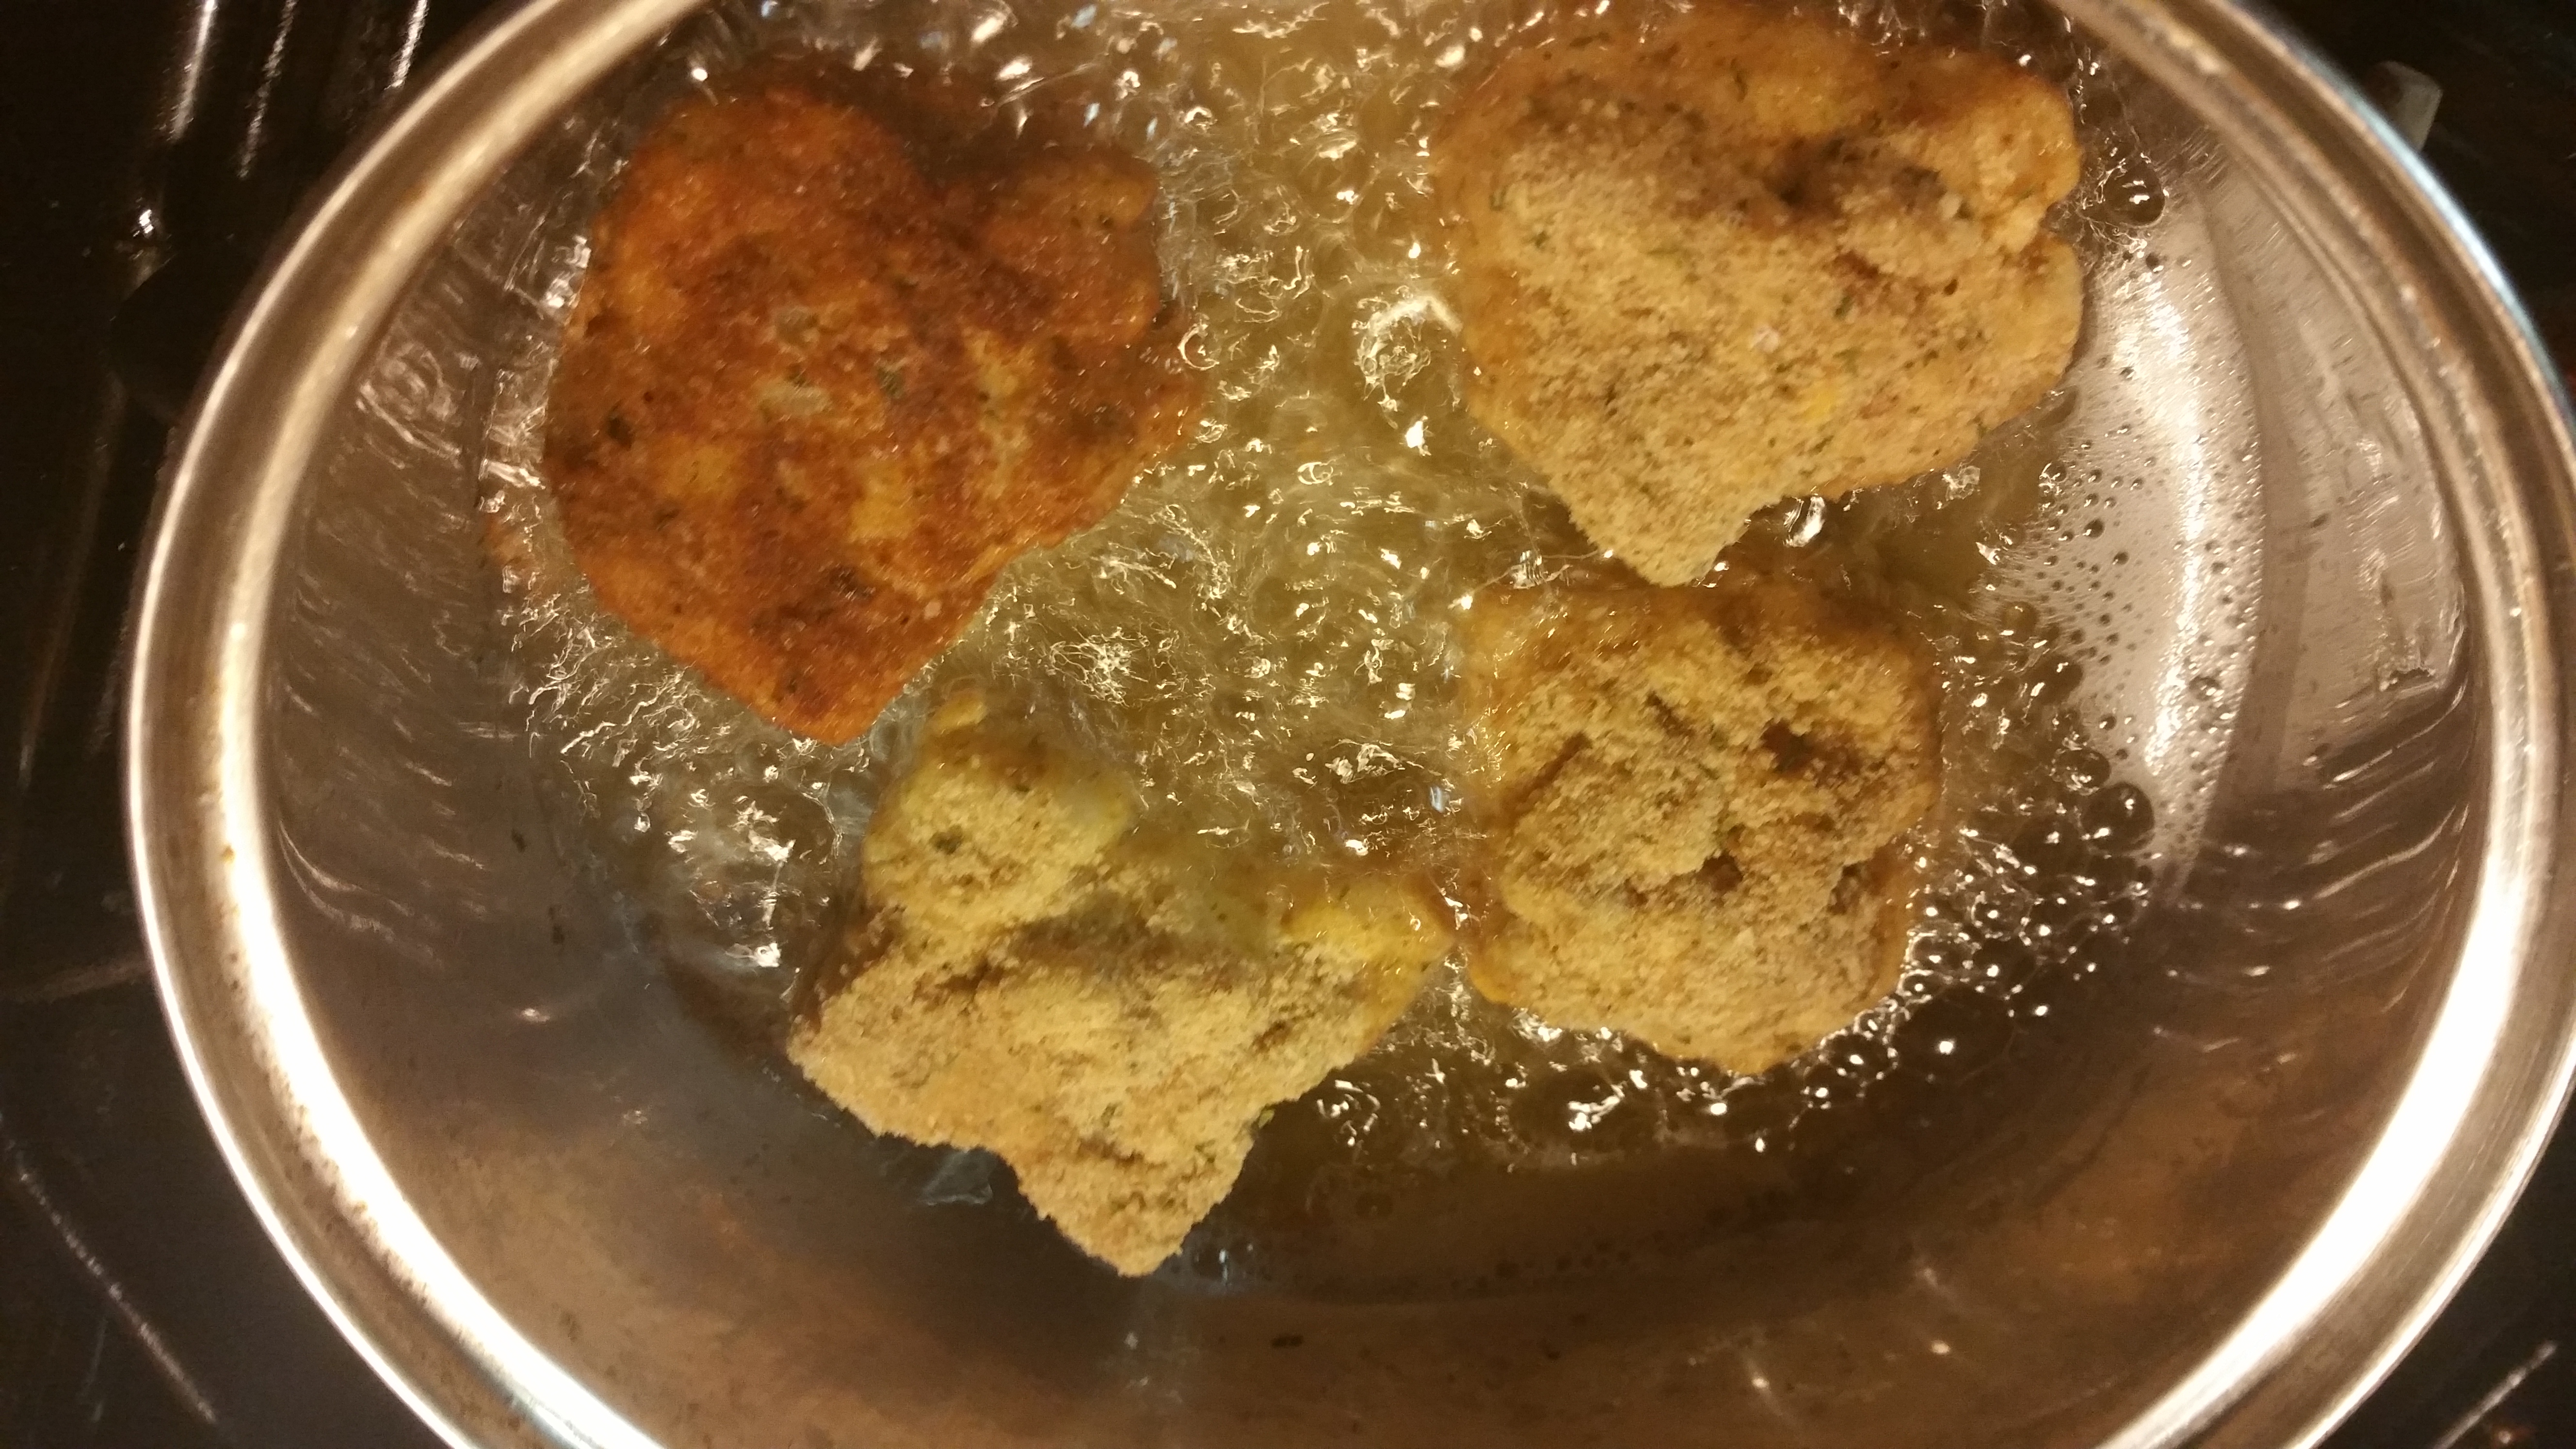
    As with anything I cook I have to find a way to make it my own. First I thought it was easier for me to cut them into squares as opposed to shaping the mac and cheese into balls. I also decided to put a small cube of cheese in the middle of my mac square. Finally I did the traditional breading I learned in school. I originally used Italian breadcrumbs but I think the next time I do this I will use Panko breadcrumbs. I also realize after making them that the temperature of the oil cannot be too hot otherwise the mac and cheese never re-heats from having been frozen. This prevented the cube of cheese I placed in the middle from melting. Trial and error that’s what it’s all about. Well here’s some pics to move along on your fried mac n cheese. Would you try this? If so would you change anythingt?

  • A Quickie…..An Open Letter

    A Quickie…..An Open Letter


    Dear Pinterest,

    How do I tell you that you have become the devil in my life? I spend so much time pinning things to my boards and creating new boards to pin things to. Hours upon hours. Time that I should be writing new blog posts or creating new recipe ideas. Yet somehow that time spent there helps me to do such things. It’s weird in a twisted kind of way.  Hours pinning and re-pinning somehow helps me find new ideas and different takes on things I want to share with my readers and students.

    I recently came across a pin for a Maple Bar Donut. It immediately took me back to my visit to Miami earlier this year.  I got to visit Mojo Donuts where I sampled a Maple Bacon Bar. I fell in love with that donut. It tasted just like breakfast but in a really good way, sweet and salty. Just Perfect. So I decided to try out this recipe I found on Pinterest. The hardest part of making this donut was making the glaze. So without further ado I present you to the Maple Bacon Bar.

    Easy Maple Bacon Bars

    • 1 8-count can refrigerated biscuit dough (I used Pillsbury Grand Homestyle Buttermilk biscuits)
    • 2 cups canola oil, for frying
    • 1/4 cup butter
    • 1/2 cup brown sugar
    • 3 TBSP milk
    • 1 TBSP corn syrup
    • 2 tsp maple extract
    • 2 cups powdered sugar
    • 4 strips thick cut bacon

    Pour 2 cups of canola oil into a medium sized saucepan and begin heating on medium-low heat.

    Cook bacon strips until crispy. Chop into bite size pieces. Set aside in a bowl (try not eat all the bacon before topping donut)

    Open the biscuit dough and separate. Gently stretch the biscuits into an oblong shape, as opposed to the round shape they come in.

    In a small saucepan, combine butter and brown sugar. Whisk in milk and heat for about 5 minutes on medium heat, stirring often, until butter is melted and sugar is dissolved.

    Remove from heat and add in corn syrup and maple extract. Add in powdered sugar 1/2 cup at a time, whisking until smooth between additions. Add 1-2 tsp more milk if necessary. Glaze will begin to harden if you leave it sitting- which is what you want! Once all powdered sugar is added, keep maple glaze warm on the stove, whisking occasionally.

    Check the temperature of the oil using a meat thermometer- it needs to read 350 degrees F. Increase heat gradually if necessary.

    Once oil is ready, drop bars in 2 at a time. Let cook for about 1-2 minutes, then turn and cook an additional  1-2 minutes on the other side. This process of cooking the doughnuts goes very fast, so have a paper towel covered plate ready to set the bars on when cooked. Bars should be a nice golden brown.

    Let bars cool for a few minutes, then whisk the glaze to make sure it’s smooth enough to dip each bar. Dip the bar, then immediately turn glaze side up on a cooling rack and top with bacon bits.

    Repeat this process until all bars are fried and glazed.

    (recipe adapted from Butter with a side of Bread)

    Please do not hold me accountable for the addiction the will come from the combination of maple flavor and bacon. Just know that you have been fore warned. Go gather your ingredients and go forward and make memories.

    P.S. The entire time I was writing this blog post it kept letting me know I was spelling donut wrong okay fine…doughnut…you happy now spell check?

    P.S.S. I accidently sent out this post in an incomplete state. Please forgive me and I hope you enjoy the completed one better.